
TL;DR
The right way to polish acrylic watch glass depends on how deep the scratches are. Shallow scratches come out with Polywatch polish and a microfiber cloth alone — no sanding needed.
Medium scratches require sanding starting around 1200–1500 grit and working up through 2000, 2500, 3000, 4000, and 5000, finished with Polywatch on felt.
The deepest gouges are filled first with a small drop of cyanoacrylate (super) glue applied with a fine pin, then leveled with sandpaper starting as low as 800 grit. The rule that matters most across all three: never skip a grit step, or leftover scratches from the previous paper will stay visible. This guide walks through the full process I use on every restoration.
Match the Repair Method to Scratch Depth
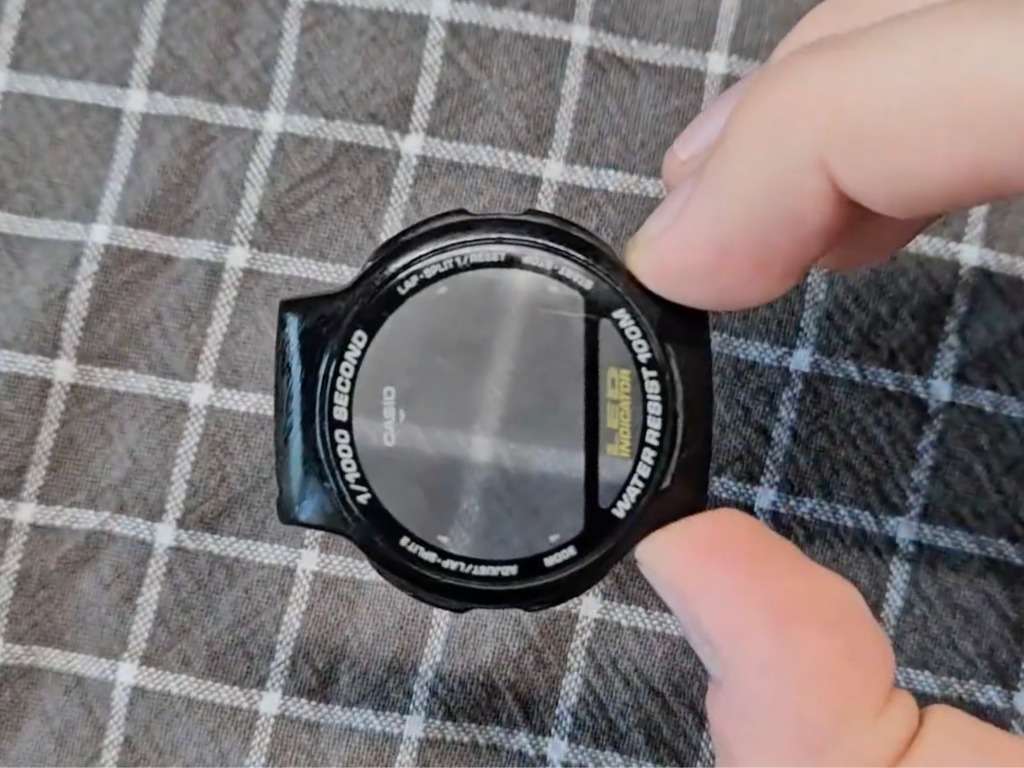
The repair method depends entirely on how deep the scratch is — there is no single technique that works for every crystal. Check the crystal under light at an angle: if you can’t catch a scratch with a fingernail, it’s shallow. If sandpaper alone won’t level it without removing too much material, it needs filling first.
| Scratch type | Method | Starting grit | Tools |
|---|---|---|---|
| Shallow / light | Polishing only | None | Polywatch + microfiber cloth or cotton cloth |
| Medium (moderately worn crystal) | Sanding + polishing | 1200–1500 | Sandpaper up to 5000, then Polywatch + felt |
| Deep / thick gouges | Glue-fill + sanding + polishing | As low as 800 | Cyanoacrylate glue, fine pin, sandpaper up to 7000, Polywatch + felt |
Step-by-step tutorial: How to polish acrylic watch glass

This is the full process, in order. Skip Step 1 if your scratches are shallow — go straight to Step 4.
Step 1: Fill Deep Scratches With Cyanoacrylate Glue
Deep gouges are filled with cyanoacrylate (super) glue applied directly into the scratch with a fine pin. This avoids grinding away excessive material just to reach the bottom of a deep groove.
- Pour a small drop of super glue to the side — not directly onto the crystal.
- Pick up a tiny amount of glue on the tip of a thin pin or needle.
- Place the glue directly into the scratch, filling it from the inside.
- Let the glue cure fully before moving on to sanding.
This creates a raised patch of cured glue over the scratch, which gets sanded down level with the surrounding crystal in the next step.
Step 2: Choose Your Starting Grit
The starting grit depends on how much material needs to be removed. Use 800–1000 for crystals with cured glue repairs or heavy damage. Use 1200–1500 for medium wear with no glue-filling needed.
Step 3: Sand Through the Full Grit Sequence
Sand progressively through each grit, without skipping any step. The coarser papers remove glue excess and level the surface to the crystal; each progressively finer paper removes the scratches left by the previous one, until the repaired area blends into the rest of the surface.
| Grit | Purpose |
|---|---|
| 800 | Removes excess cured glue and levels deep repairs |
| 1000 | Continues leveling after 800 |
| 1200–1500 | Typical starting point for medium-worn crystals |
| 2000 | Reduces scratches from the previous grit |
| 2500 | Reduces scratches from the previous grit |
| 3000 | Reduces scratches from the previous grit |
| 4000 | Reduces scratches from the previous grit |
| 5000 | Near-final grit; leaves a matte finish ready for polishing |
| 7000 | Used for the deepest repairs needing the finest pre-polish finish |
Two rules make or break this step:
- Never skip a grit — going from 1200 straight to 3000, for example, leaves scratches from the coarser paper behind, since each grit’s job is to remove the marks left by the one before it.
- Spend roughly equal time on each grit so the scratch pattern from the previous paper fully disappears before you move on.
Add a few drops of water to the sandpaper between passes — it improves friction and keeps the abrasive working evenly.
Step 4: Polish With Polywatch
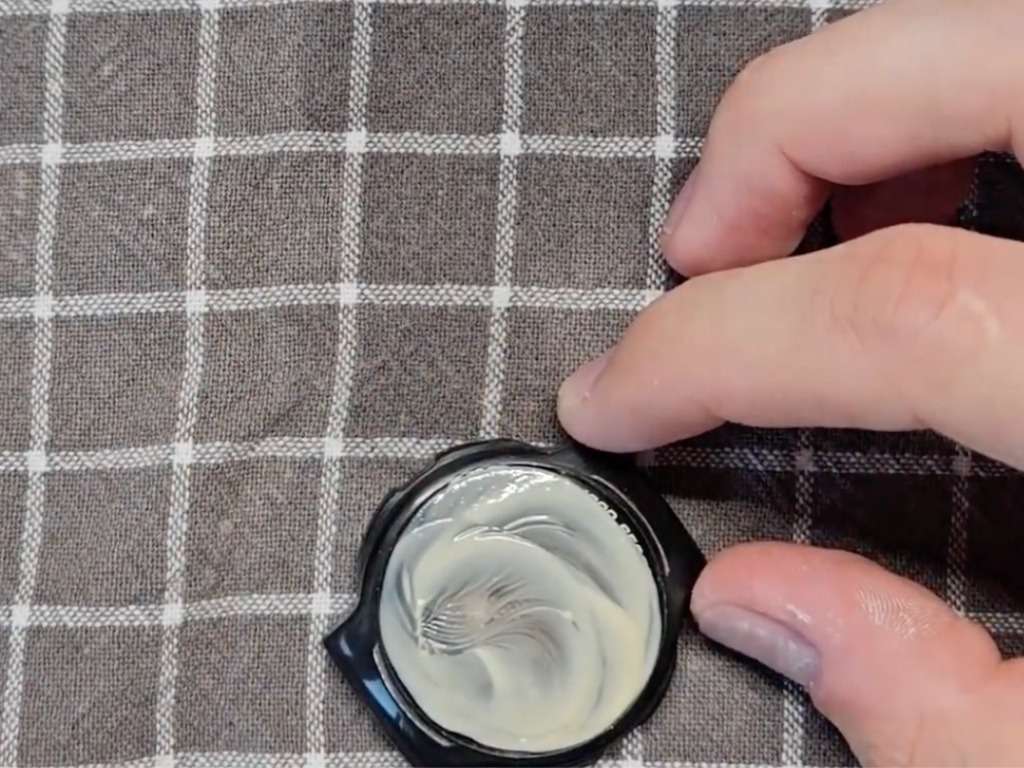
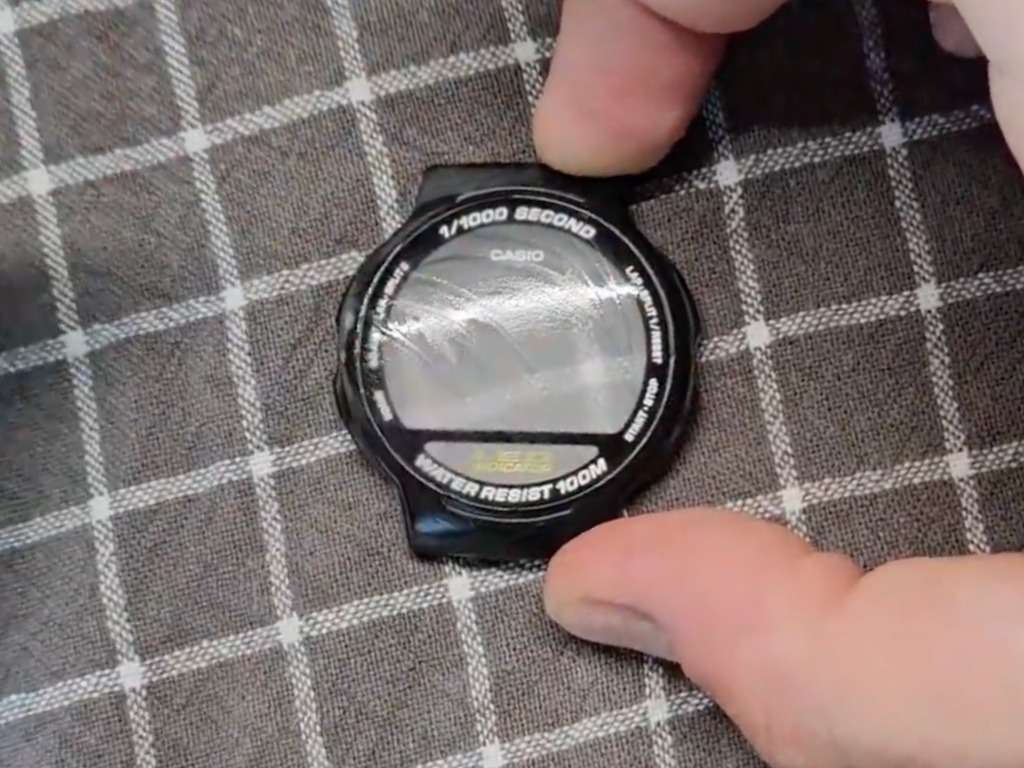
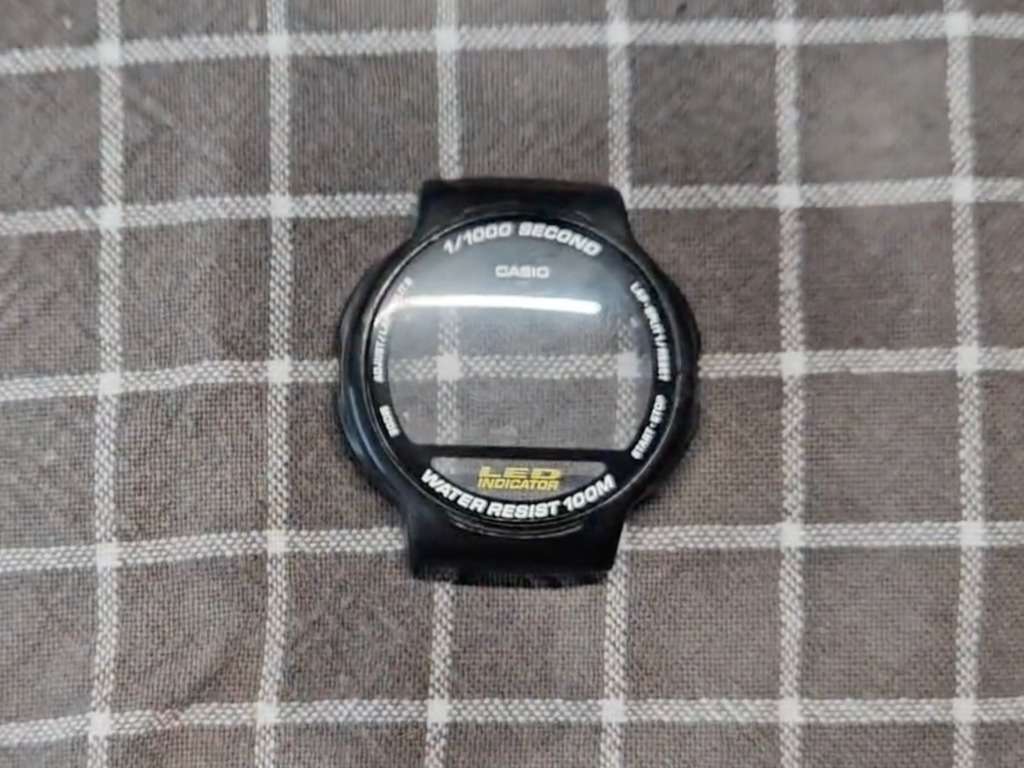
Polywatch paste restores the crystal’s clarity and depth after the matte finish left by sanding. Apply a small amount to felt, work it into the surface in circular motions, and continue until the matte finish turns glossy and transparent.
- For shallow scratches with no sanding, a microfiber or clean cotton cloth works instead of felt.
- For post-sanding polishing, felt gives a more controlled, even finish.
- A hand grinder/buffer fitted with felt speeds this up, but hand polishing gives more control near the crystal’s edges.
Step 5: Keep the Workspace Clean
A dirty sanding station causes the “spider web” effect — a deep, web-like scratch pattern caused by debris trapped under the sandpaper. A single particle of dust or grit acting as an unintended abrasive point can gouge the crystal far deeper than the paper’s actual grit rating.
- Keep the work area clean before starting.
- Check the sandpaper surface for embedded particles before each pass.
- Use a clean envelope or holder for the sandpaper between grit changes.
If the spider web effect happens, treat the affected area as a new deep scratch — sand it down again, starting from a low enough grit to remove it.
Full Process at a Glance
- Assess the scratch depth first — shallow, medium, or deep.
- Fill deep gouges with cyanoacrylate glue on a fine pin, then let it cure.
- Sand progressively through the grit sequence appropriate to the damage, never skipping a step.
- Add water while sanding to improve friction.
- Polish with Polywatch on felt (or cloth, for shallow scratches) until clarity returns.
- Keep the workspace clean to avoid the spider web effect.
FAQ
Can you polish acrylic watch glass without sandpaper?
Yes, but only for shallow scratches. Light, surface-level scratches can be polished out with Polywatch and a microfiber or cotton cloth alone, with no sanding required.
Does super glue actually work to fill deep scratches?
Yes. Cyanoacrylate glue applied with a fine pin directly into a deep scratch cures into a solid fill that can then be sanded level with the rest of the crystal, avoiding the need to grind down the whole surface to reach the bottom of the gouge.
What grit should I start with for a medium-worn crystal?
Start around 1200–1500 grit and work upward through 2000, 2500, 3000, 4000, and 5000. For heavily damaged crystals with glue repairs, starting as low as 800 may be necessary.
Why does my crystal look matte after sanding?
A matte finish after the final sanding grit is normal and expected. It’s removed in the polishing step, where Polywatch applied to felt restores transparency and gloss.
Can I use Polywatch on heavily scratched acrylic?
Yes, but Polywatch alone won’t remove deep scratches or gouges — those need sanding (and glue-filling, if very deep) first. Polywatch is the finishing step that restores clarity once the surface has been leveled.
What causes the “spider web” effect when sanding?
It’s caused by a stray particle of debris trapped under the sandpaper, which gouges a deep, irregular scratch pattern into the crystal. Keeping the sanding area, paper, and storage envelope clean prevents it.
Sources and Inspirations
Information for this entry was compiled from hands-on restoration work, community discussions, and documented case studies.
Main references and inspirations:
- Hands-on experience polishing and restoring acrylic crystals, documented across multiple project write-ups in the Projects / Restorations section of this site
- Community discussions and technique threads from the r/CasioVintage Reddit community
- Discussions and shared methods from Casio and vintage watch Facebook groups
- DIY watch restoration YouTube channels covering crystal polishing and sanding technique

Daniel is the person behind Vintage Casio Restore, a project dedicated to restoring and documenting vintage Casio digital watches from the 80s and 90s. Based in Poland, he combines technical precision with a passion for retro design, bringing forgotten models back to life and sharing their stories online.Outside the workshop, Daniel works in a digital agency, managing SEO and content strategy for technology clients, blending his professional experience with his love for classic tech and design.


Leave a Reply