One day I got an email from Gary, one of my blog readers from Northern Ireland.
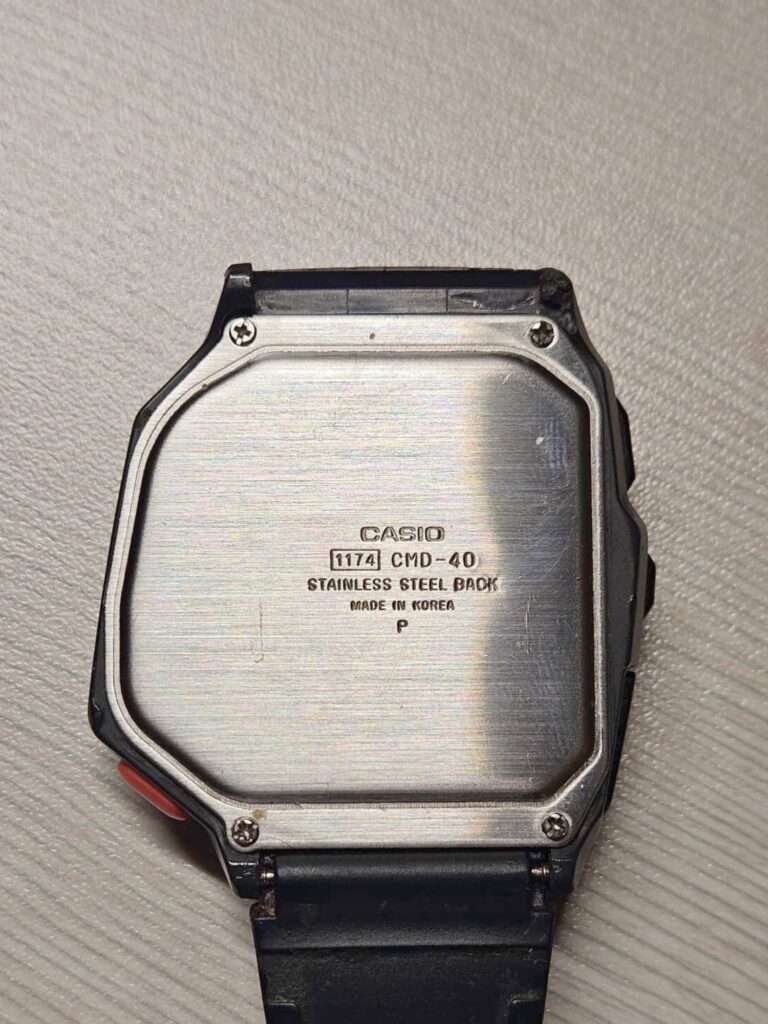
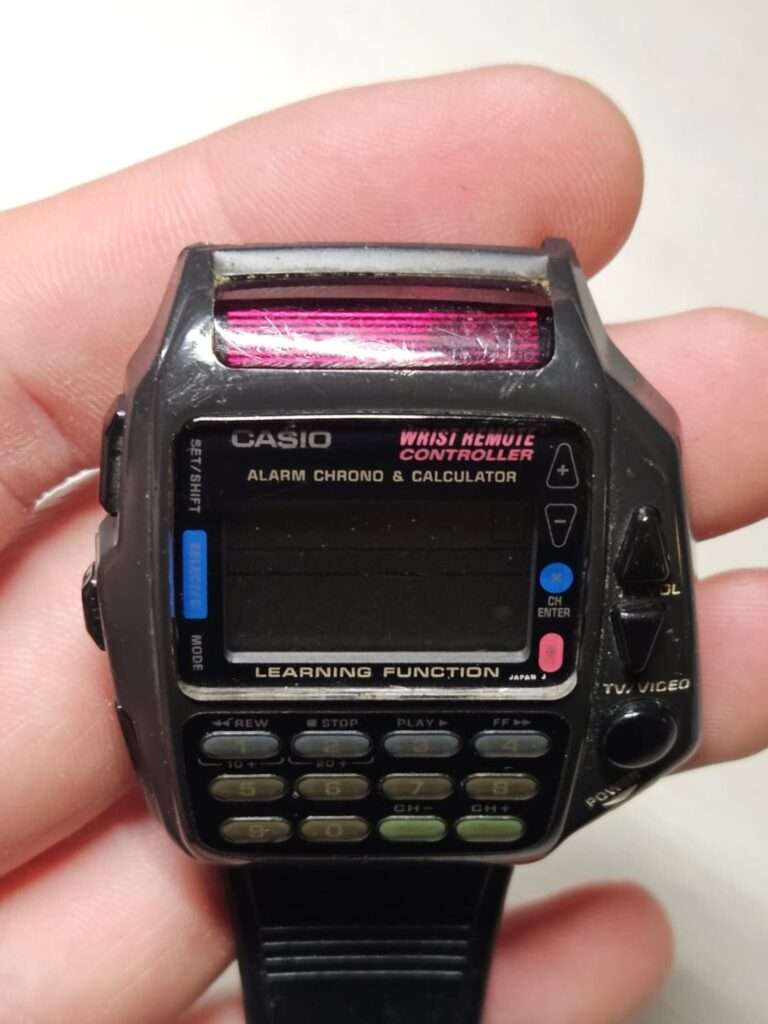
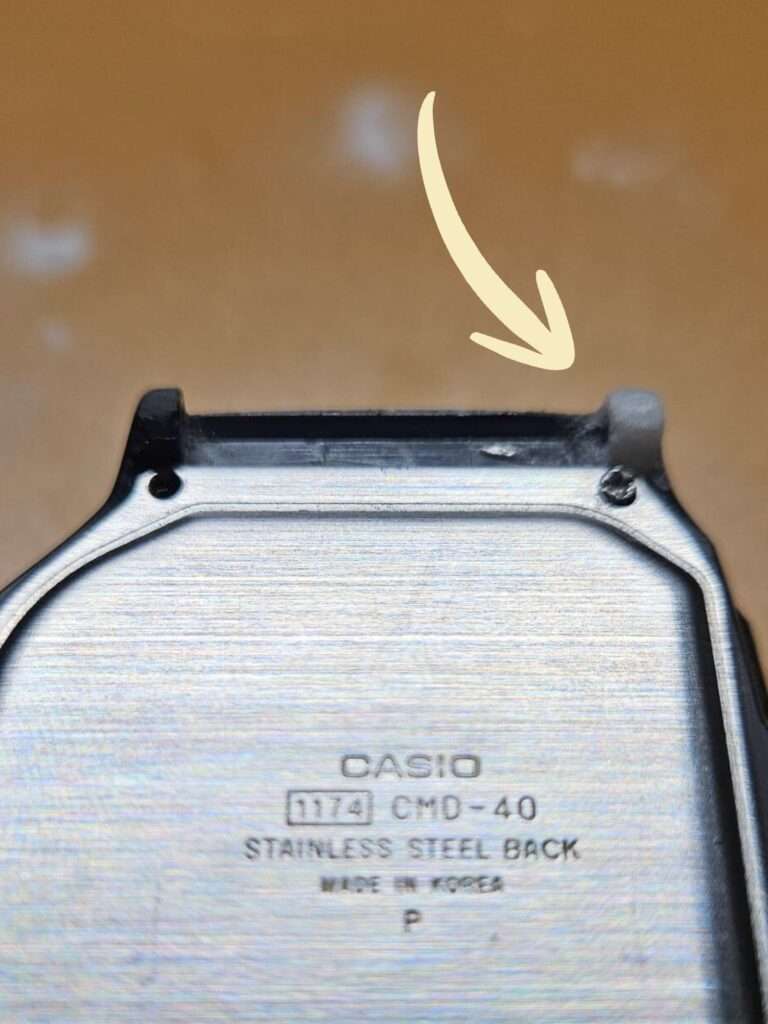
He had a Casio CMD-40 sitting in a drawer. The top left lug was broken, so the watch wasn’t wearable. He asked if I could fix it.
Casio produced the CMD-40 throughout most of the 90s, so a lot of people grew up seeing it or even owning one. That long production run means there are still many of them around. But it also means collectors want them. If you check eBay today, prices are going up. A decent CMD-40 is not cheap anymore, and it’s only getting more expensive.
Gary had one. It just needed some love. He told me the watch had been sitting unused for nearly 18 years. That’s a long time for a watch to wait.
I said yes. We agreed on a price, he packed it up and shipped it from Belfast to Poland. A few days later, a small package landed on my workbench.
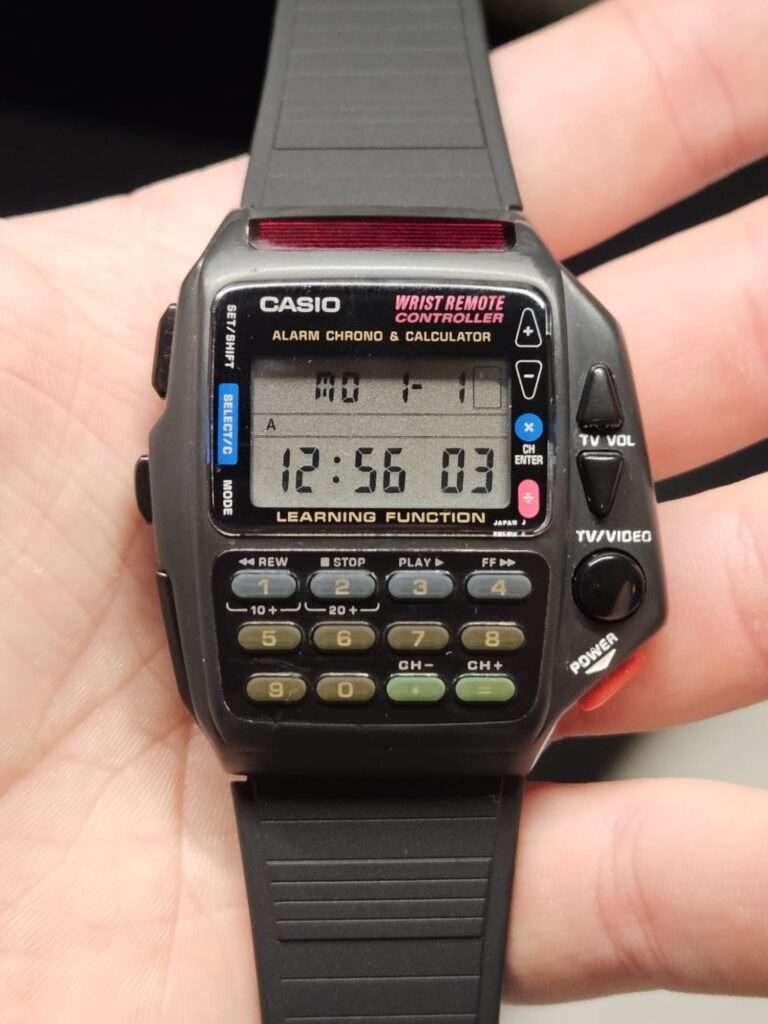
What Did the Watch Look Like When It Arrived?
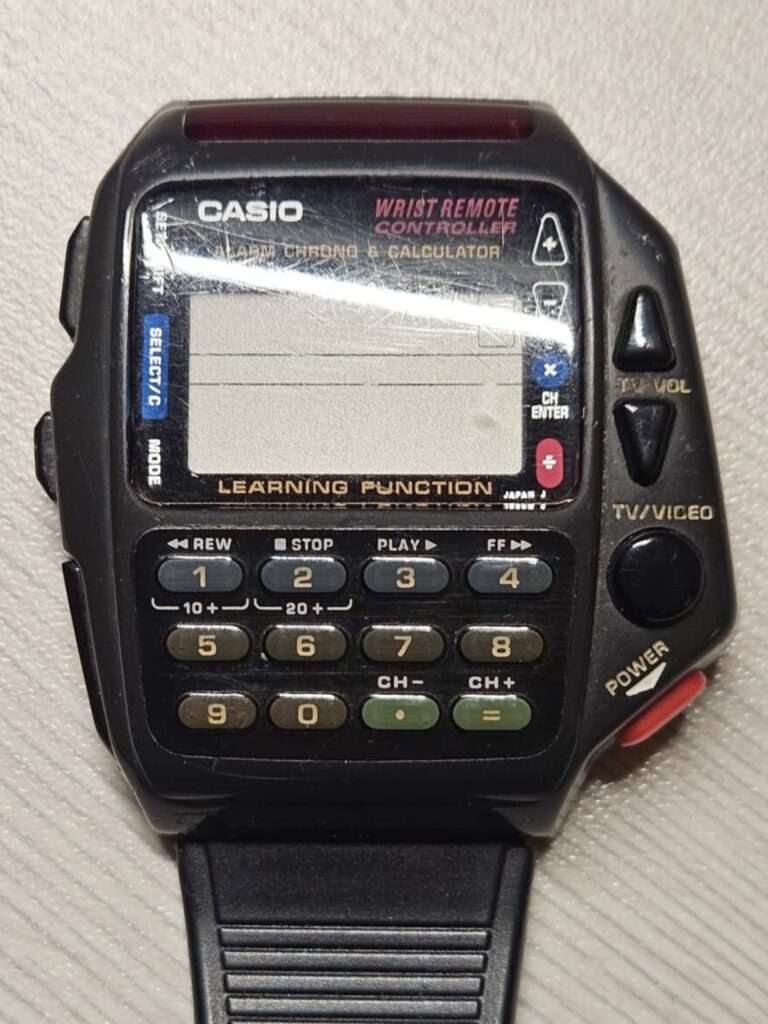
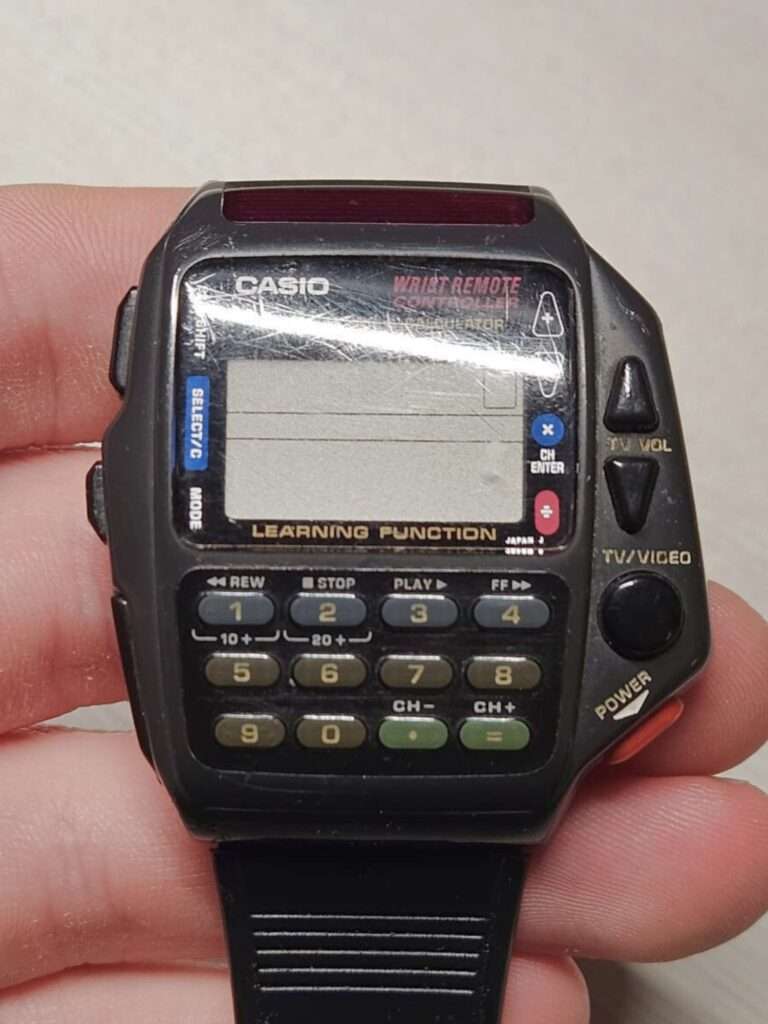
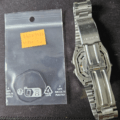
The watch arrived from Belfast via Royal Mail. Gary had removed the battery before shipping. Smart move 👍
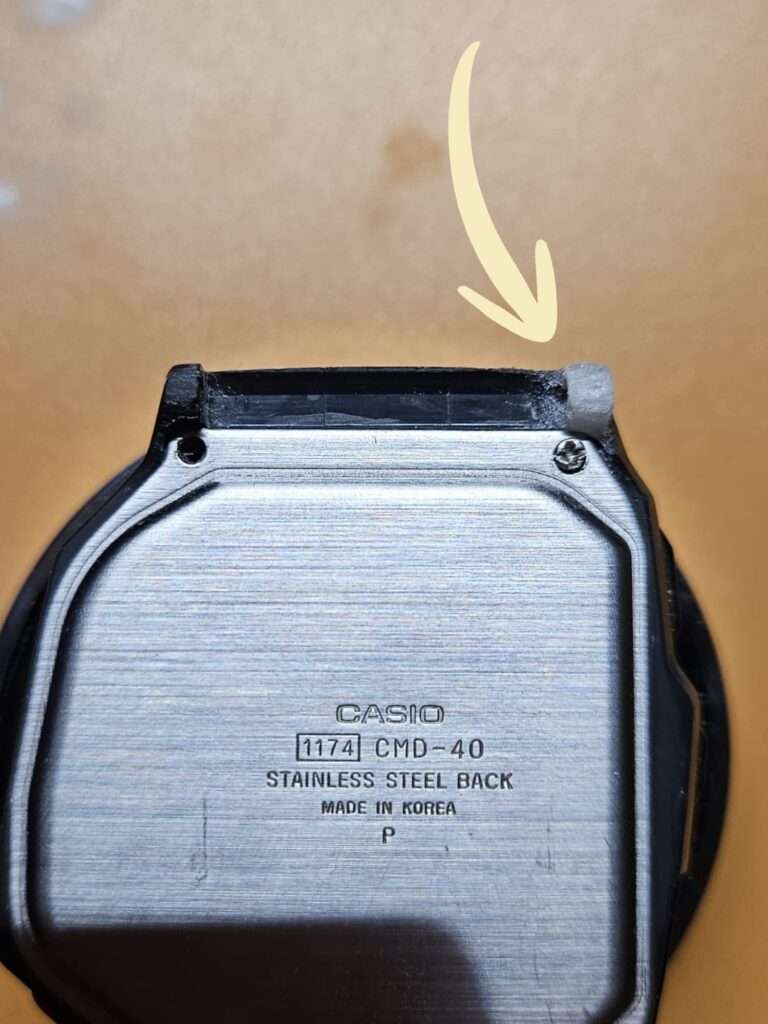
The main problem was clear straight away. The top left lug was broken off. Without it, you can’t attach a strap. Without a strap, you can’t wear the watch. Simple as that.
But once I looked closer, there was more to do.
The case had surface scratches from years of use. The crystal had scratches too. The white labels next to the buttons were faded and hard to read. And inside the case, there was dirt and dust in all the small corners and gaps. Nothing unusual for a watch this age, but it all needed attention.
One thing I checked early was the case back gasket. Unfortunately, it’s not available anywhere. I searched and found nothing. So I couldn’t replace it. Gary was fine with that — he doesn’t plan to expose the watch to water anyway. I did plan to re-silicone the button seals to keep those in good shape.
Overall, the watch was in the condition you’d expect from a 90s Casio that spent nearly two decades in a drawer. Not a disaster. But it needed a full restoration, not just a quick fix. 🔧
The Restoration Process
Step 1: Lug Reconstruction
This was the most important part of the whole job. First, I cleaned and degreased the broken lug area completely. Any grease or dirt would stop the repair from holding properly, so this step really matters.
Then I rebuilt the lug using the baking soda and superglue method. This is a classic technique for resin case repairs. You apply superglue, add a layer of baking soda on top, and repeat. Each layer hardens almost instantly and builds up solid material. It’s surprisingly strong when done right.
Once I had enough material built up, I shaped it with a file. This is the slow part. You’re working by eye, trying to match the original lug shape as closely as possible. After the file, I moved to sandpaper to refine the shape and smooth the surface.
One honest note here: a rebuilt lug is not the same as a factory lug. It’s solid for daily wear, but you should avoid putting too much force on it, especially when changing straps. I always tell customers this upfront.
Step 2: Full Disassembly
With the lug sorted, I took the watch completely apart. The module came out. The buttons came out. The case was fully open. You can’t properly clean a watch like this without going all the way. There’s always dirt hiding somewhere you can’t reach from the outside.
Step 3: Case and Crystal Polishing
Now the satisfying part. I started with the case. I sanded it beginning from 800 grit to remove the deeper scratches, then worked up gradually to around 2500 grit. Each step removes the scratches left by the previous one. You go from rough to smooth, slowly.
After sanding, I finished the case with a white magic eraser, both dry and wet. This step is important for resin cases. It brings back the factory matte texture. Without it, the case looks too shiny and unnatural.
The crystal got similar treatment but with finer paper. I started at 1200 grit and worked all the way up to 7000 grit. The CMD-40 crystal is acrylic, so it polishes up very well. By the end it was clear and sharp.
Step 4: Module Cleaning
With the case clean and polished, I moved to the module. I cleaned it with IPA (isopropyl alcohol). This is the standard go-to for cleaning Casio modules. It removes old grease, dust, and residue without damaging anything. A few passes with a cotton swab and the module looked fresh. 🛠️
Step 5: Repainting the Button Labels
This is a small detail that makes a big visual difference. The white labels next to the CMD-40 buttons were faded and barely visible. I repainted them using white acrylic paint. The trick is to apply the paint, let it dry, then carefully wipe off the excess from the surrounding surface. What stays behind is clean, sharp lettering sitting in the original recesses. It sounds simple. It takes a steady hand. But the result is worth it.
Step 6: Reassembly and Button Seal Lubrication
With everything cleaned, polished, and painted, I put the watch back together. During reassembly I lubricated the button seals with silicone grease. Fresh silicone keeps the seals flexible and gives the buttons a better, more responsive feel. It also helps protect against dust and moisture getting in through the buttons.
The case back went on without a gasket, as discussed with Gary from the start.
Step 7: Color Matching the Rebuilt Lug
Here’s the part most people don’t think about. After reconstruction, the rebuilt lug was bright white from the baking soda material. It stood out badly against the grey case. I needed to color match it.
I mixed two nail polishes together to get as close as possible to the CMD-40’s grey tone. Then I painted the rebuilt lug carefully. I let it cure for two full days before touching it again.
Once cured, I matted it down with fine sandpaper and a white magic eraser to match the factory matte finish of the rest of the case.
It’s not a perfect match under a magnifying glass. But in normal wear it blends in well. That’s the goal. 👍
Step 8: Finding the Right Strap
Gary also asked for a new strap as part of the restoration. Original CMD-40 straps are rare and expensive. When you do find one, the price is usually not worth it for a watch you plan to actually wear. So I looked for a practical alternative.
The CMD-40 has a 22 mm lug width and a 25 mm case width. I found that the strap from a Casio DBC-62 fits perfectly. It’s a proper Casio rubber strap, it looks right on the watch, and it’s easy to find at a reasonable price.
It’s not the original. But it fits, it looks good, and it won’t break the bank. Sometimes that’s the right call. 😄
Final Result
I received the watch on February 18th. By February 27th, it was back in Belfast. 9 days from arrival to delivery.
Before shipping, I sent a short video and some photos so he could see the results first. Then the watch made its way to Belfast via DHL.
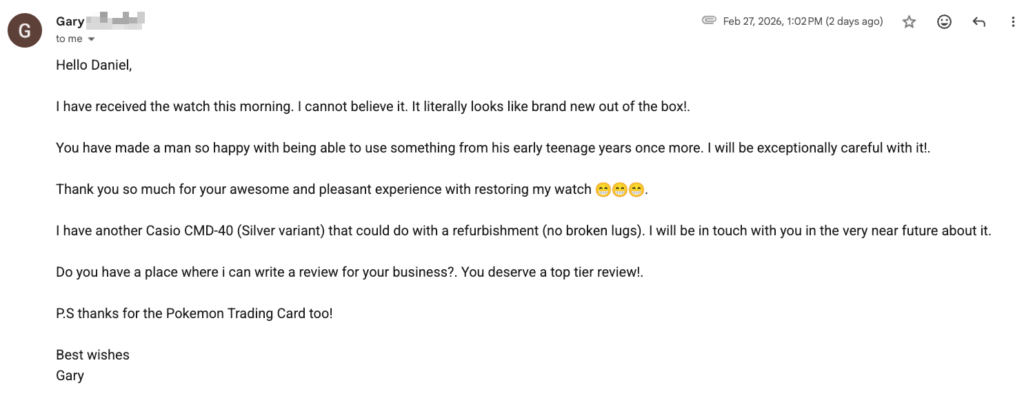
A few days later, the package arrived. Here’s the reaction:
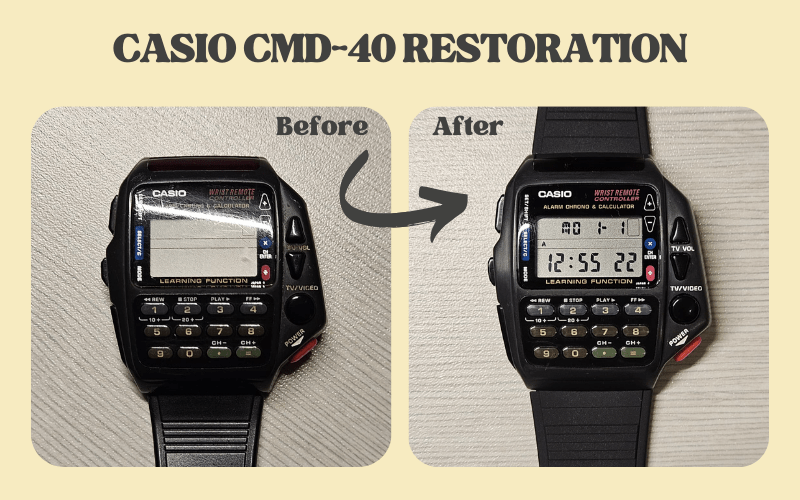
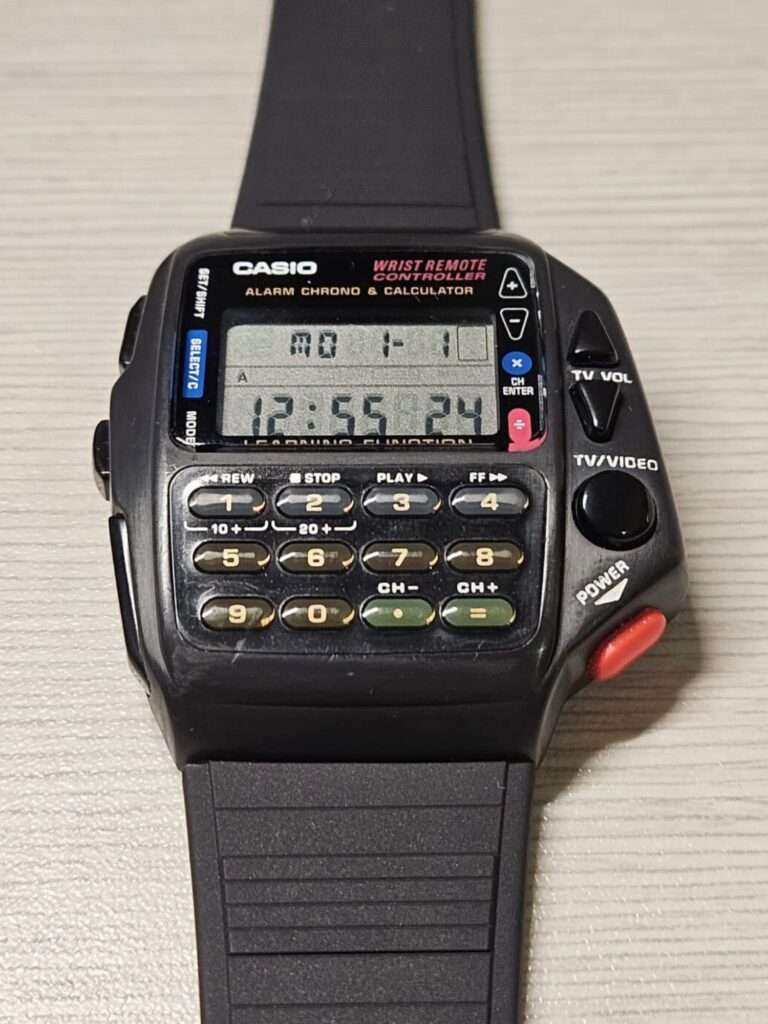
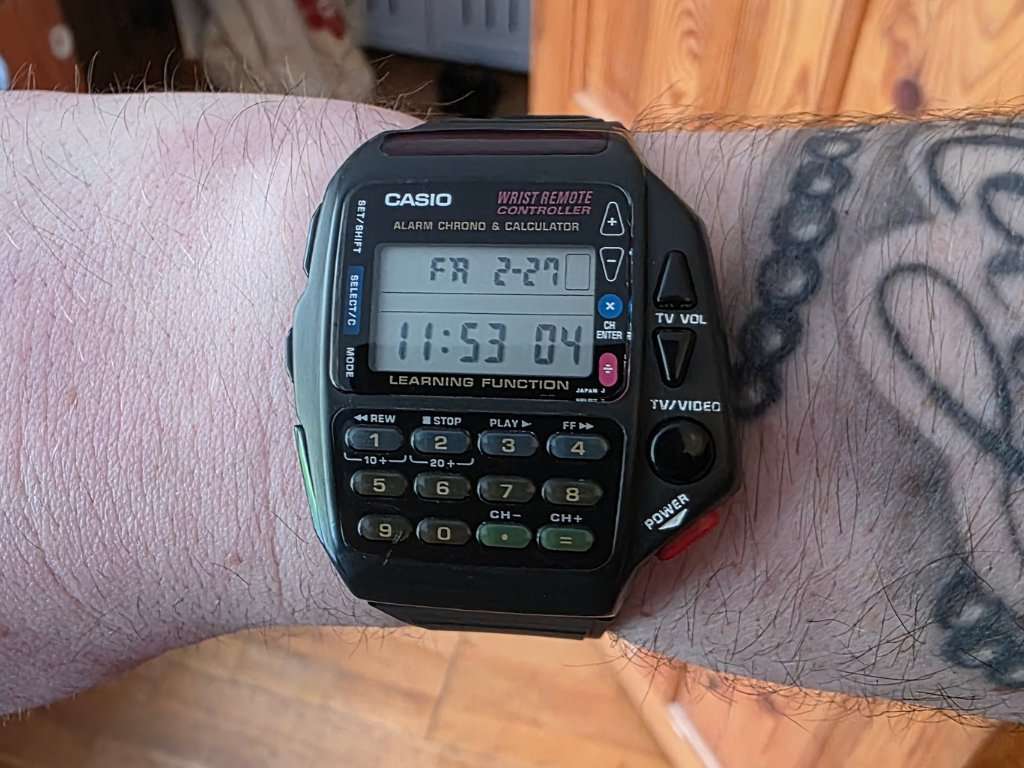
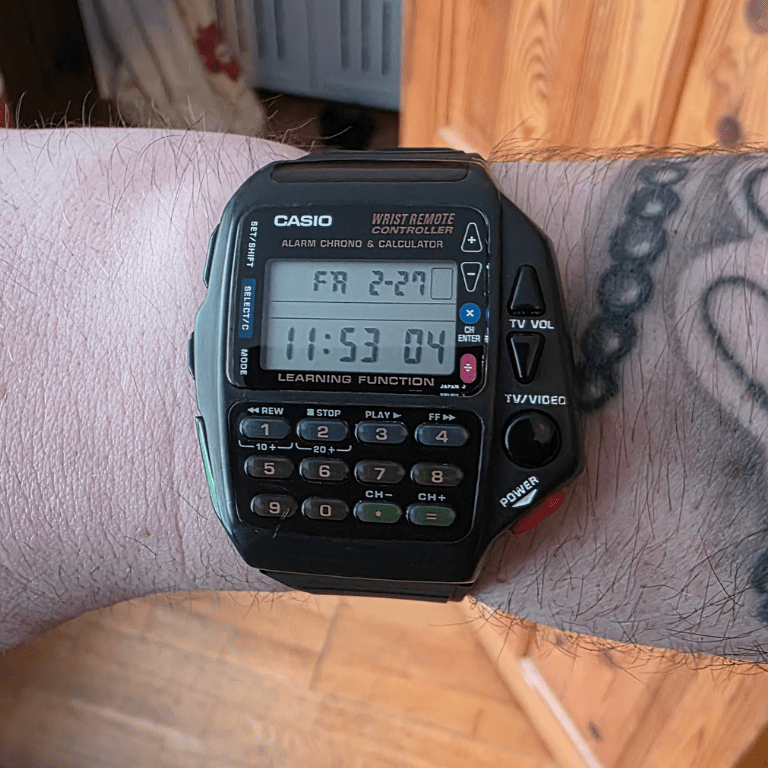
Here’s what the finished watch looked like:
- The rebuilt lug blends in well with the grey case. Not perfect under a magnifying glass, but solid and natural in everyday wear.
- The case has a clean, even matte finish with no visible deep scratches.
- The crystal is clear and sharp. No more surface haze.
- The button labels are bright white and easy to read again.
- The DBC-62 strap fits well and suits the watch nicely.
- The module is clean and fully functional.
One small bonus that wasn’t part of the deal. I included a Pokémon trading card in the package. It got mentioned in the thank you email. I think it went down well. 😄
There’s also a second CMD-40 coming my way soon. The silver variant this time. No broken lugs, just a general restoration. Stay tuned.
Want Your Vintage Casio Restored?
Gary’s CMD-40 is one example of the restorations I do ⌚. I also restore vintage Casio watches for other collectors. You can see examples of my previous projects here: 👉 https://casiorestore.com/projects-restorations/
I work internationally, and shipping is not a problem. I have already completed restorations for collectors from the UK, Sweden, Poland, and France. Every project is discussed individually, so we always agree on the scope, price, and shipping before starting 🛠️.
The process is simple:
- Write to me on Instagram: @vintage.casio.restore
- Or send me an email: vintagecasiorestore@gmail.com
- Describe the problem with your watch
- Send clear photos
- Tell me your country
If your Casio deserves a second life, I will be happy to help 👍

Daniel is the person behind Vintage Casio Restore, a project dedicated to restoring and documenting vintage Casio digital watches from the 80s and 90s. Based in Poland, he combines technical precision with a passion for retro design, bringing forgotten models back to life and sharing their stories online.Outside the workshop, Daniel works in a digital agency, managing SEO and content strategy for technology clients, blending his professional experience with his love for classic tech and design.

Leave a Reply