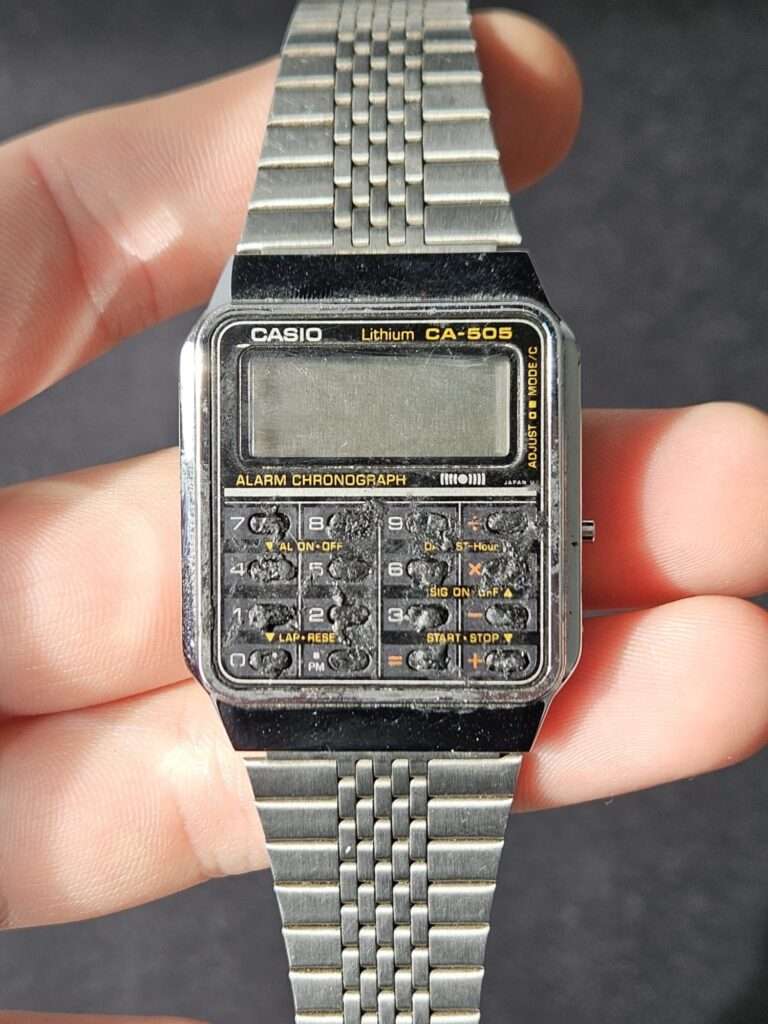
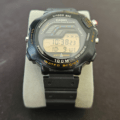
One day at a flea market, I spotted a Casio CA-505 sitting on a table. Dead, and damaged in a way I hadn’t seen before on any Casio I’d worked on. The keypad was completely destroyed — the rubber had literally dissolved, buttons worn down to nothing, sticky and soft to the touch. Someone had left this watch in direct sunlight for a long time. Long enough for the material to give up entirely.
The seller noticed me looking and told me I could open it up before deciding. I did, and inside everything was clean — no battery leaks, no corrosion, nothing wrong beyond the obvious damage on the front. It wasn’t expensive, so I bought it thinking it might be useful for parts someday. That was the plan.
Then I got home, dropped in a battery, did an AC reset — and 12:00 appeared on the display. The module was alive. That changed everything.
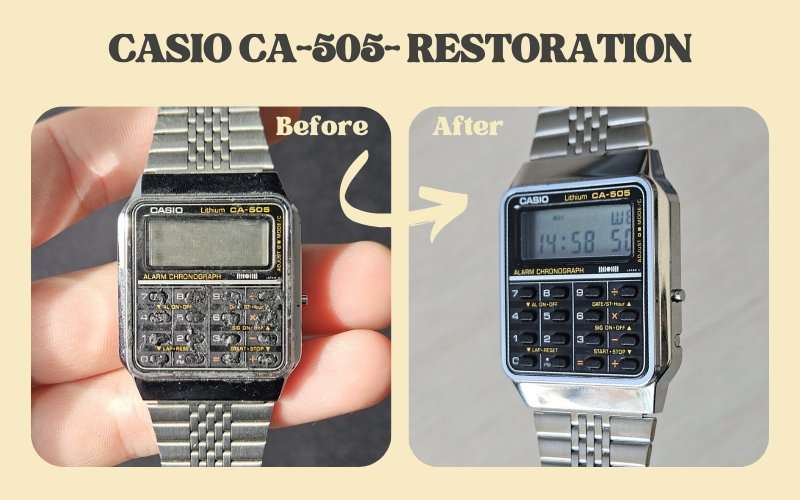
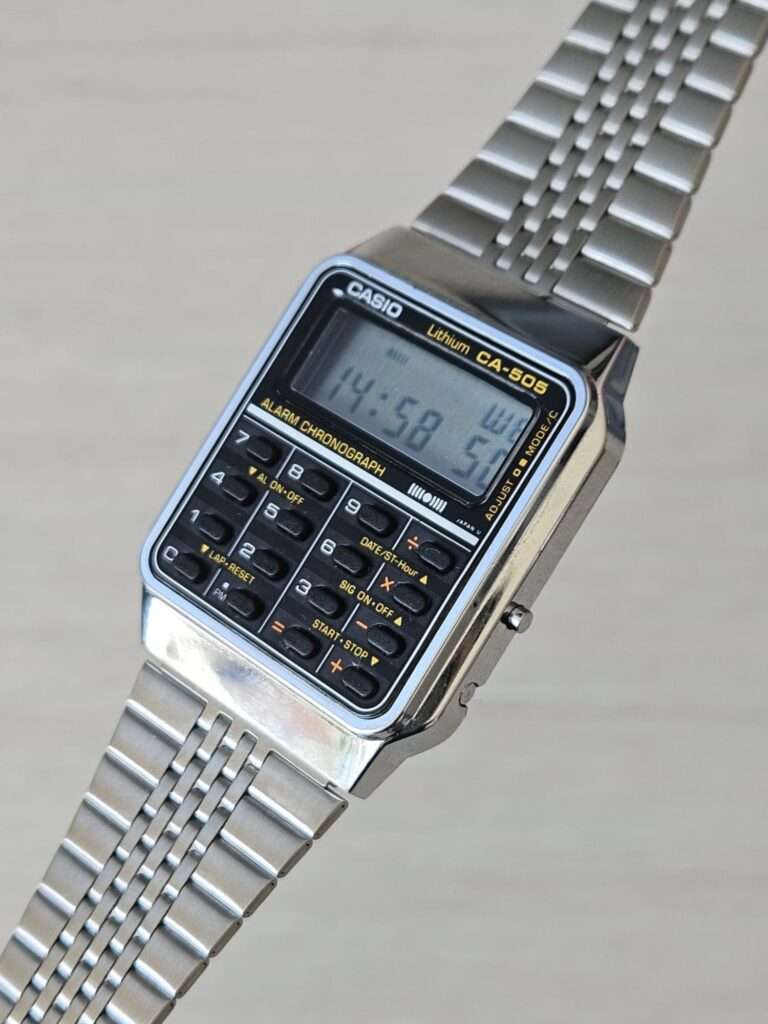
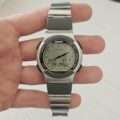
Casio CA-505 – condition on arrival
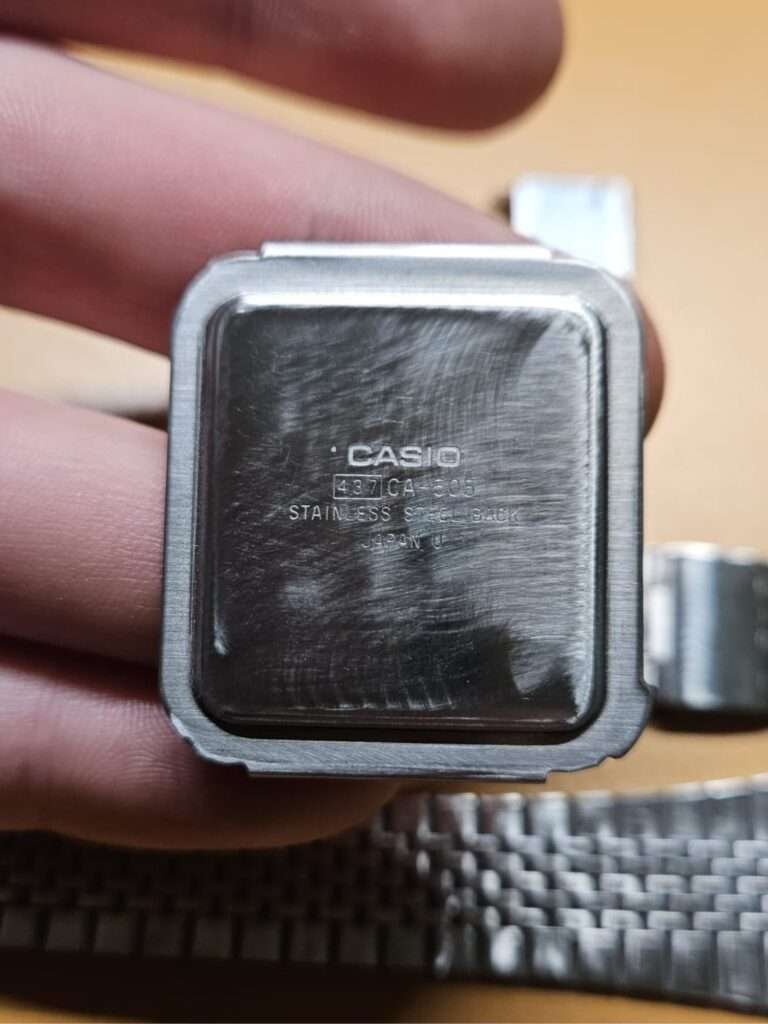
Before getting into the repair itself, it’s worth describing what I was actually dealing with when the watch landed on my workbench. The module, as I’d already confirmed at the flea market, was in good shape — clean board, no leaks, no corrosion. Electrically the watch was fine. That was the good news.
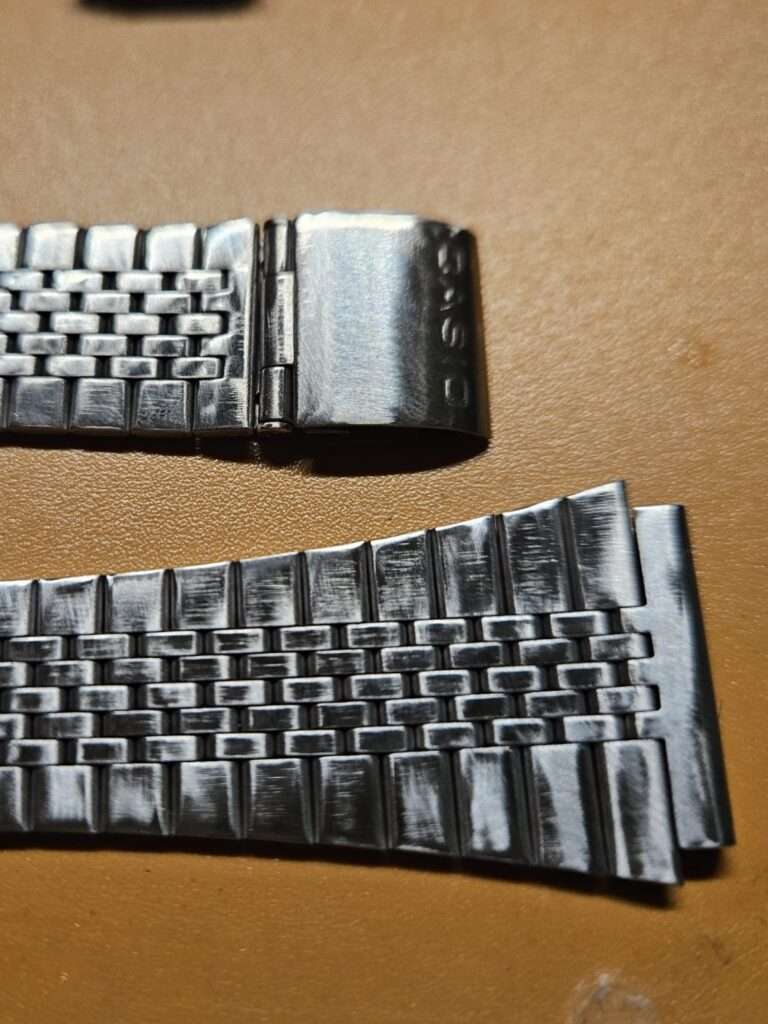
The keypad was a different story entirely. The rubber had melted and fused to the front panel — sticky, deformed, completely unusable. Every button was worn down and soft to the touch. It wasn’t something that could be cleaned or salvaged. The whole keypad needed to go. The crystal had scratches from years of use, nothing catastrophic but visible enough to notice, and the back cover and bracelet told the story of a watch that had actually been worn — scratches, scuffs, the kind of surface wear that builds up over years of daily use.
Overall: a watch with a solid core and a damaged exterior. A melted keypad, a scratched crystal, worn metal — and a module that was just waiting for someone to give it a reason to run again.
The restoration process
Step 1: Disassembly and cleaning
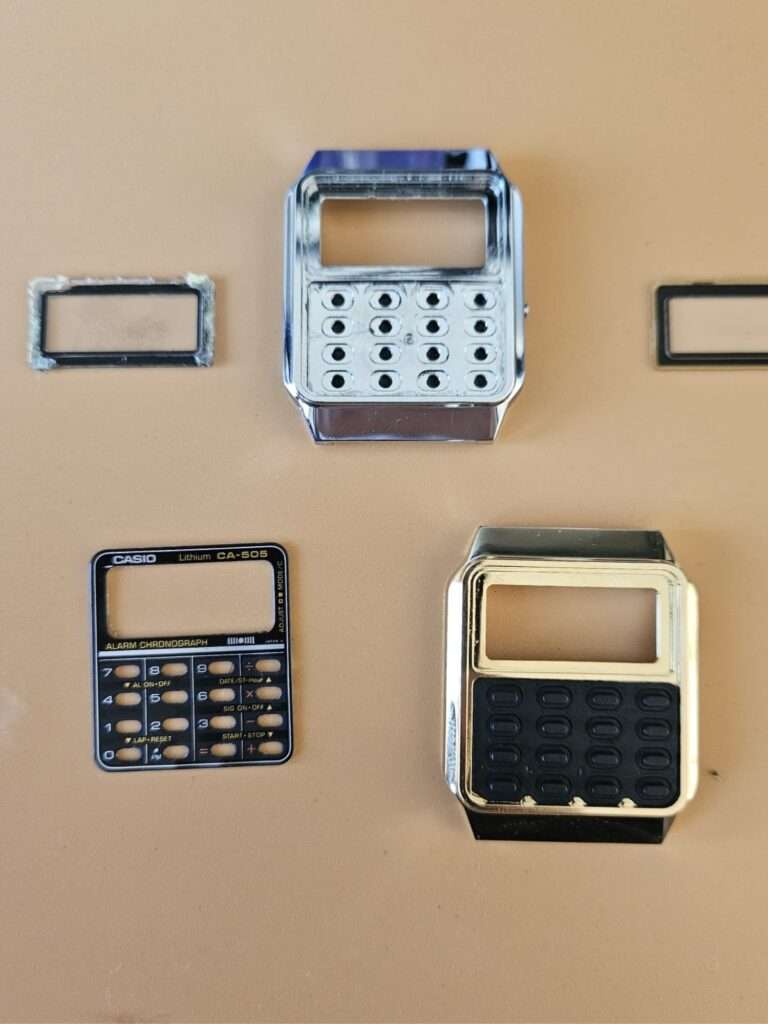
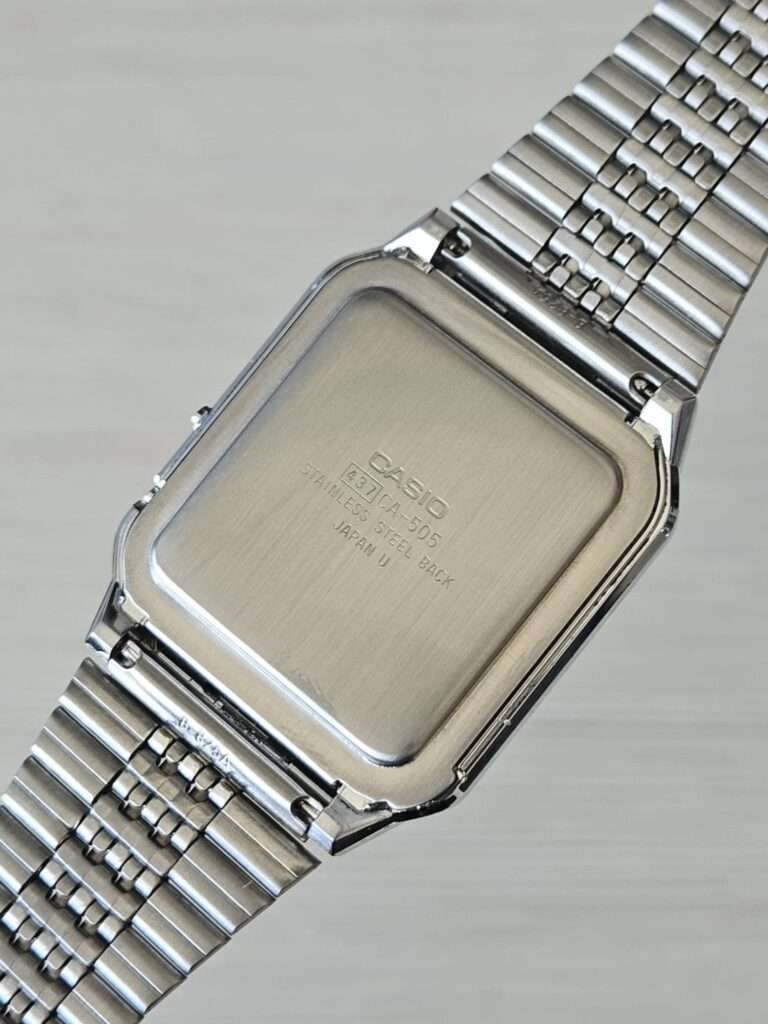
The first surprise came early. On most watches, the keypad is accessible from the back. On the CA-505, it’s not. The keypad sits behind the front panel — which meant the entire front panel had to come off first.
The panel was bonded to the case with strong adhesive tape. Not a quick job. I worked carefully around the edges, peeling it away without damaging anything underneath. Once it was off, I could see the full extent of the damage — dissolved rubber residue covering the keypad area, stuck to everything it had touched.
I cleaned it all out. Every trace of the old melted rubber had to go before anything else could happen. Tedious work, but there’s no shortcut here. The surface needs to be clean for the new keypad to sit properly and bond correctly.
Step 2: Finding and extracting the donor keypad
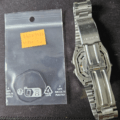
While the case was being dealt with, I was also waiting on a package from a different project entirely.
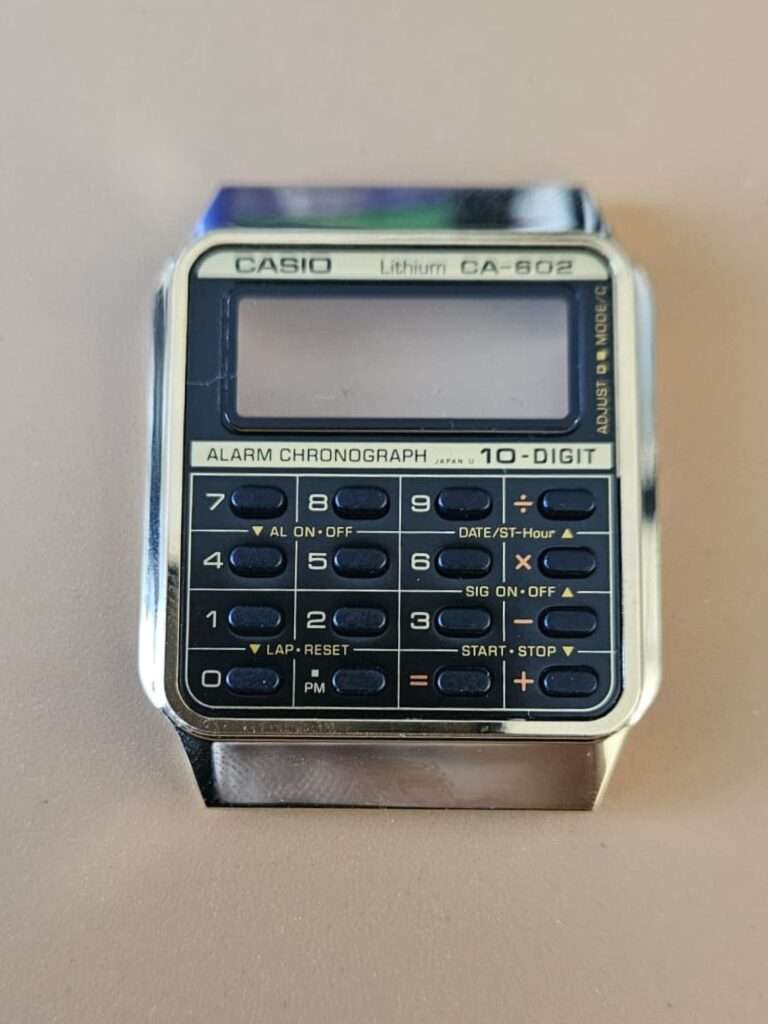
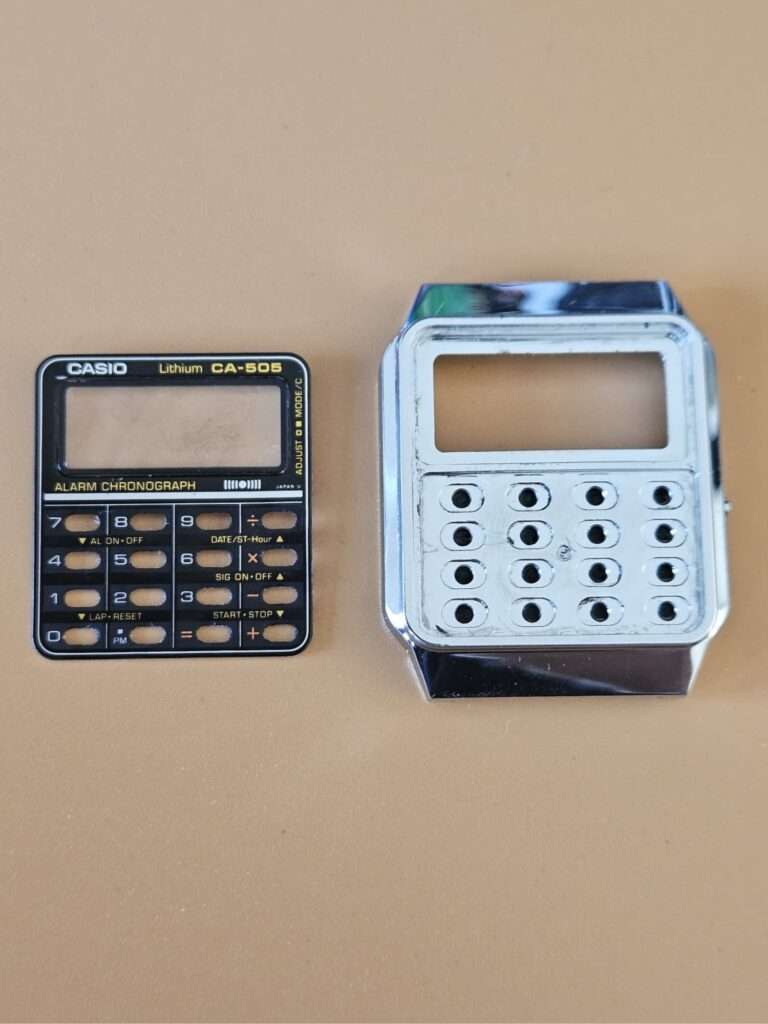
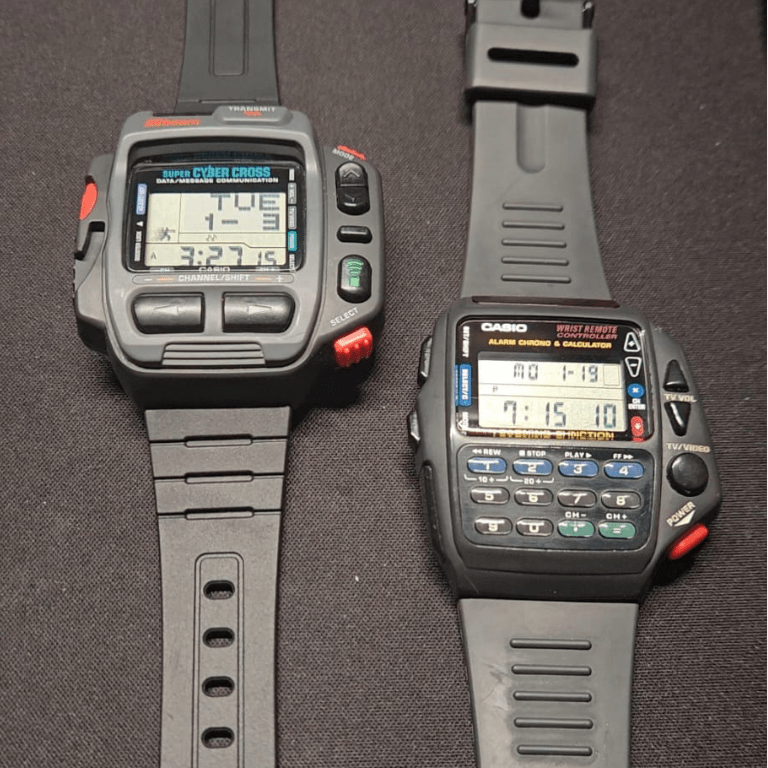
I’d managed to source a Casio CA-602 case at a reasonable price. The CA-602 is the CA-505’s gold-coloured twin — same construction, same dimensions, just a different finish. Which meant the keypad should be a direct fit for my silver CA-505. It was a calculated bet, but a logical one.
When the package arrived, I opened it up and removed the keypad from the CA-602 case. Test-fitted it into the CA-505. The fit was correct. The bet had paid off.
Step 3: Case and bracelet refinishing
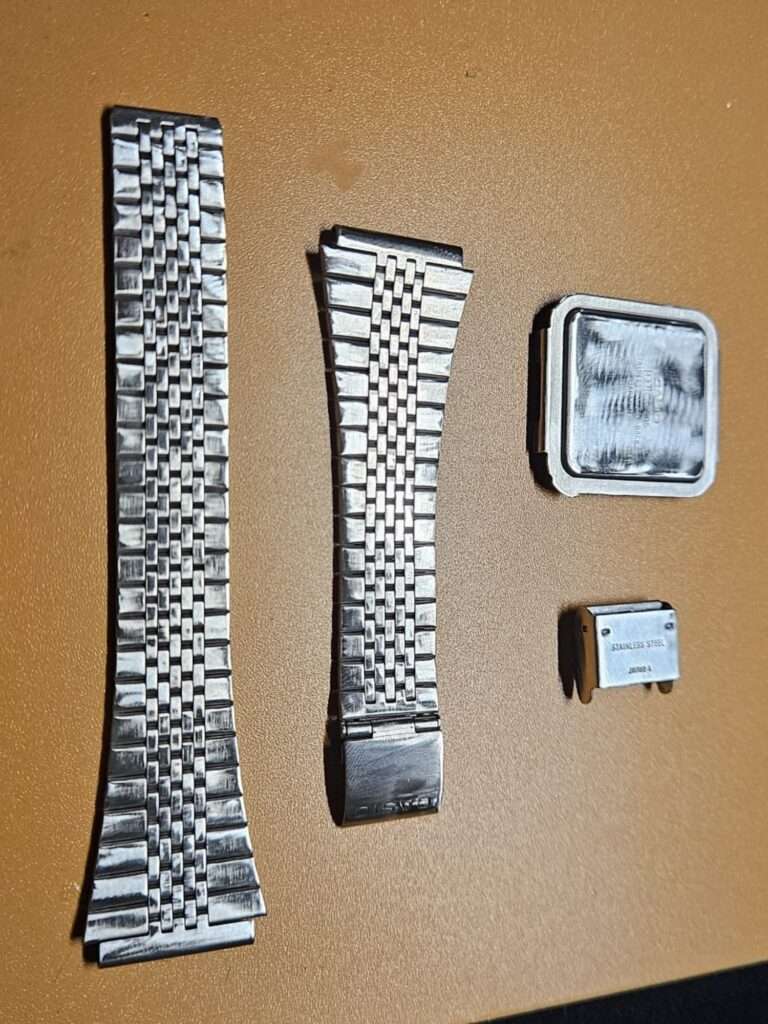
With the module set aside and the case stripped down, I moved to the metalwork.
The back cover and bracelet had accumulated years of scratches and surface wear. I used my hand grinder with sanding discs, working through the grits from 240 all the way up to 5000. Each pass removing a little more of the damage, smoothing the surface progressively.
Once the scratches were gone, I restored the factory brushed finish using an abrasive pad — the kind of fine fibrous pad that brings back the original satin texture without over-polishing. The result was exactly what I was going for. The metal looked like it had come off a production line, not spent decades on someone’s wrist.
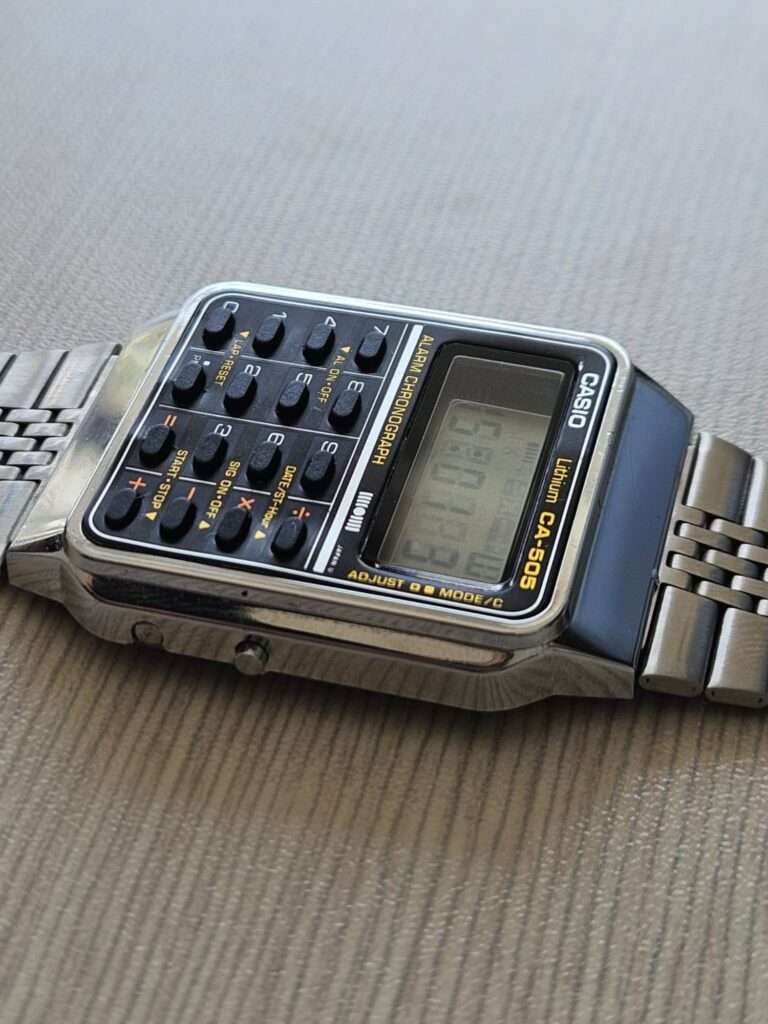
Step 4: Keypad installation and reassembly
With the donor keypad ready and the case clean, it was time to put everything back together.
For bonding the keypad, I used 3MK double-sided tape. It’s not cheap, but for this kind of application it’s the right choice. Thin, strong, and reliable. I applied it at every possible contact point between the keypad and the case, making sure there were no gaps that could cause movement or lifting later.
Then came the front panel. Same approach — 3MK tape applied carefully at every contact point around the perimeter. Once positioned, I pressed it down through a soft cloth with a heavy object on top and left it to cure properly. No rushing this part. The bond needs time to set.
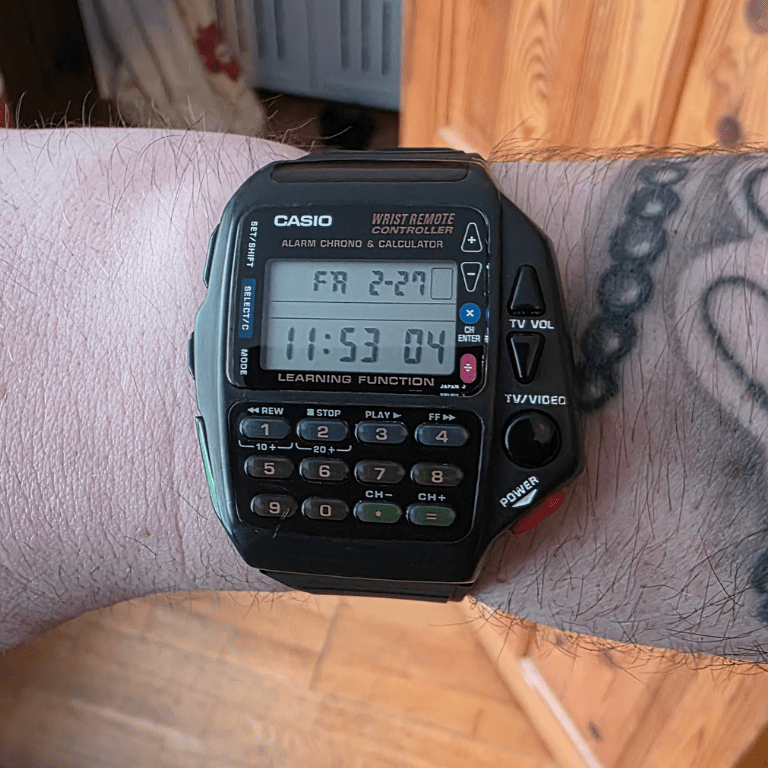
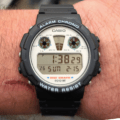
After that, the bracelet went back on. Battery in, AC reset, time and date set.
The CA-505 was back.
The final result
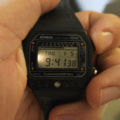
The CA-505 came out better than I expected when I first picked it up at that flea market.
The keypad transplant worked perfectly. Every button responds correctly, the fit is clean, and there’s no movement or lifting anywhere on the front panel. The 3MK tape did its job exactly as it should.
The metalwork is the part I’m most proud of on this one. The back cover and bracelet came out beautifully — scratches gone, factory brushed finish restored. For a watch that arrived with years of surface wear, the transformation is significant.
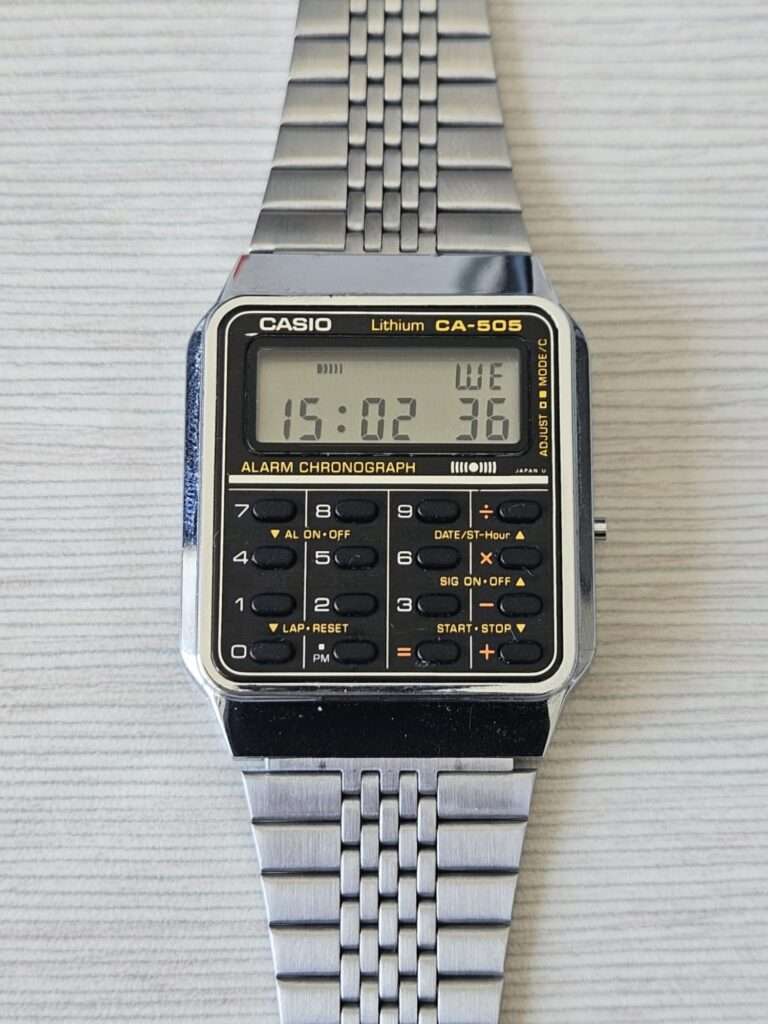
The module runs without any issues. Display, buttons, all functions — everything working as it should. A watch that was sitting dead on a flea market table is now keeping time correctly.
This was my first restoration of a Casio CA-series watch, and it taught me a lot. The front-panel access, the way the keypad is bonded, the construction logic of this family — I understand it now in a way I didn’t before. That knowledge will carry into the next CA restoration, whenever it arrives on the workbench.
Sometimes the best projects are the ones you almost walked past. This CA-505 was one of them. A melted keypad, a scratched case, and a module that just needed someone to give it a chance. Glad I took the risk. ⌚
Want your vintage Casio restored?
This CA-505 is one example of the restorations I do. I restore vintage Casio watches for collectors and enthusiasts around the world — everything from straightforward cleanups to more complex repairs like this one.


You can see more of my previous projects here: 👉 casiorestore.com/projects-restorations
I work internationally (mainly Europe). I have already completed restorations for collectors from the UK, Scotland, Sweden, Ireland, Spain, France, and more. Every project is discussed individually, so we always agree on the scope and price before starting. 🛠️
The process is simple:
- Write to me on Instagram: @vintage.casio.restore
- Or send me an email: vintagecasiorestore@gmail.com
- Describe the problem with your watch, send clear photos, and tell me your country.
If your vintage Casio deserves a second life, I will be happy to help. 👍
Passionate about Casio’s golden-era digital watches. At Vintage Casio Restore, I bring old models back to life and share practical guides for collectors and enthusiasts.
Leave a Reply