One day, I got a message from Manuel, a collector from Spain. His Casio MAP-100 was working fine until he tried to change the battery himself, and after that, the watch stopped working completely. He was looking for a watchmaker who could bring it back to life, and that is how he found me. 🔧
We talked first by email and then on WhatsApp. About a week after his first message, Manuel sent the package from Spain. When he shipped it, he told me that he had packed two watches: his own MAP-100 and a second MAP-100 with a bleeding LCD. His idea was that I would fix both watches if possible, and if not, I could use the second one as a donor for parts. I replied that a bleeding LCD can’t be repaired and that I couldn’t find a replacement on eBay, so the second watch would most likely become the donor. 6 days later, the package reached my workshop in Rzeszów. 😄
Both watches use the same Casio 693 module, so the donor gave me a real chance to save Manuel’s watch. In a project like this, a donor watch is the best tool a restorer can have. ⌚
What Did the Casio MAP-100 Look Like When It Arrived?
I started by testing both watches. The MAP-100 runs on two SR927W batteries, so I put a fresh pair in Manuel’s MAP-100, but the display stayed blank. Then I put fresh batteries in the second watch, and it did not wake up either. At this point, I had two dead MAP-100s on my bench. 😅
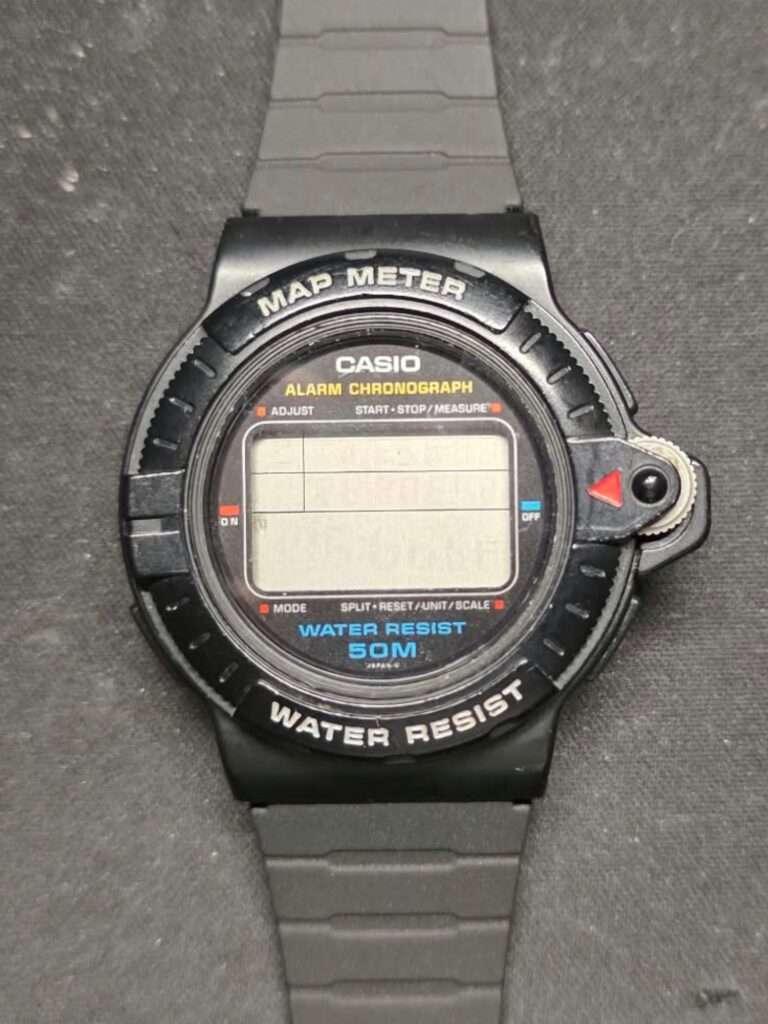
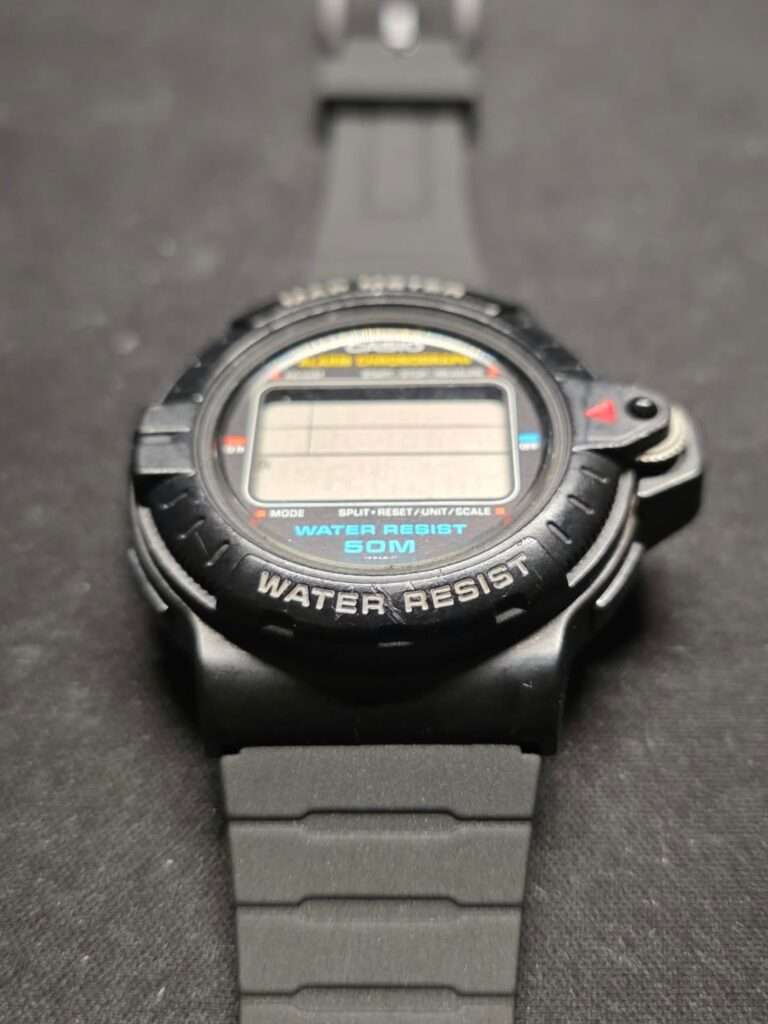
The second watch had the bleeding LCD that Manuel had told me about. As I expected, there was no way to repair it, so from the start I treated this watch as the donor MAP-100.
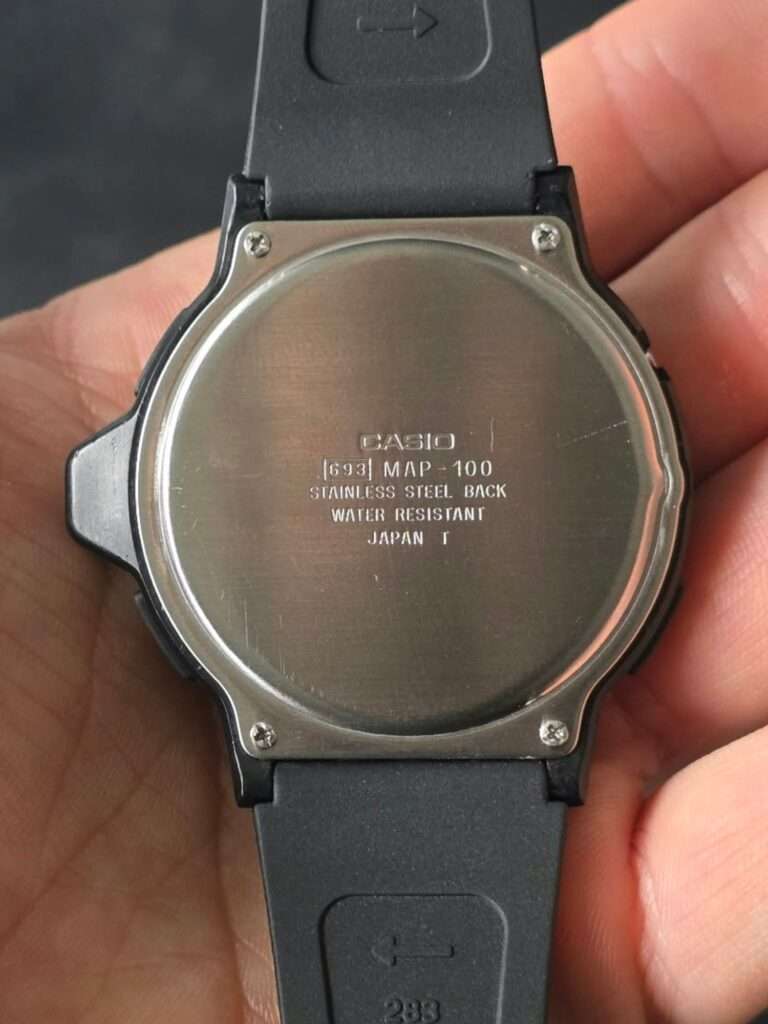
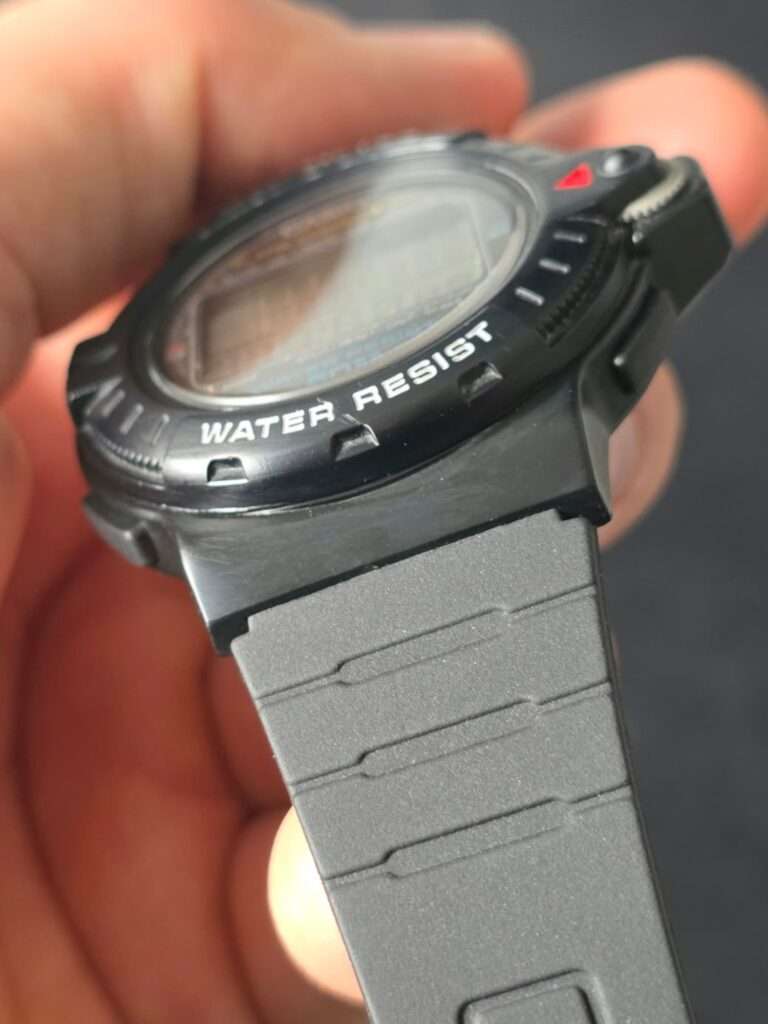
Manuel’s MAP-100 had its own list of issues. The resin case, the acrylic crystal, and the case back were covered in scratches, and some of them were deep enough to need the super glue method. The case back gasket was missing, and the button seals had perished, which is why the buttons were sticking when you pressed them.
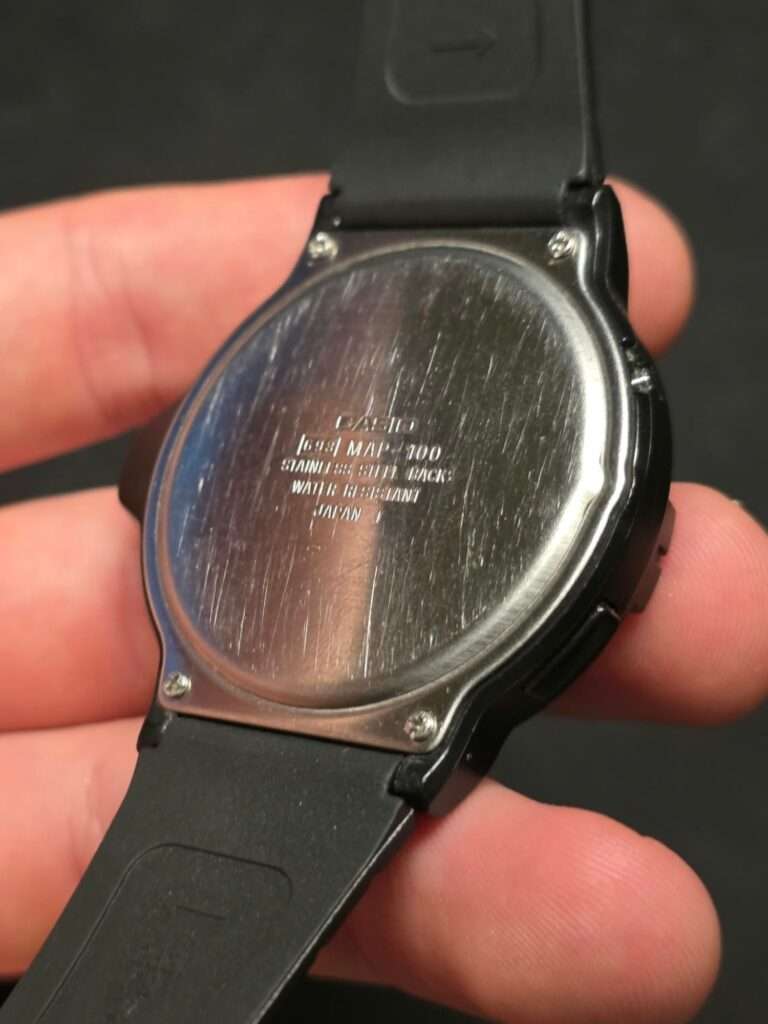
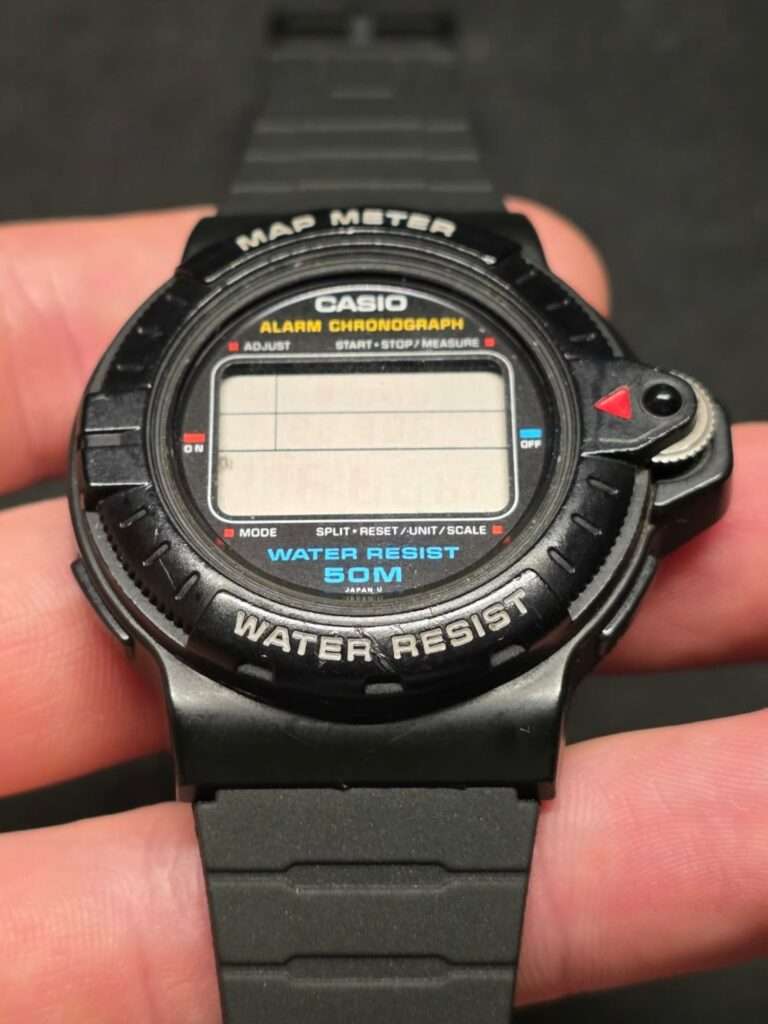
Fortunately, the LCD in Manuel’s MAP-100 was in good condition. So my plan was to get a working PCB for his 693 module first, and then bring back a clean matte case and a clear crystal. 🛠️
Casio MAP-100 – Restoration Process
Step 1: Trying to Save the Original MAP-100 PCB
I always start with the owner’s original parts, because if there is any chance to save them, I want to try. I took the 693 module from Manuel’s MAP-100 apart and cleaned the contacts and the PCB with IPA alcohol. This removes dirt and old oxidation that can block the connections.
Next, I checked the traces on the PCB one by one with a multimeter, using the continuity test. I found several broken traces, and I repaired them with PCB repair paste, a conductive paste that rebuilds the electrical connection where the trace is damaged. After that, I put the batteries back in and waited for the display to wake up.
Unfortunately, the original PCB stayed dead even after all these repairs. It hurts a little when you do everything right and the module still refuses to work. 😅 This is the moment when the donor MAP-100 became the key part of the project.
Step 2: Reviving the Donor MAP-100 PCB
The donor MAP-100 had a bleeding LCD, but the PCB in its 693 module looked to be in good shape. The module was dead as well, so I repeated the same process. I took the module apart, cleaned the contacts and the PCB with IPA, and checked the traces with the multimeter.
This time I found a broken connection on the PCB. I restored it, put the batteries in, and the board came back to life. 🔧 Seeing a dead module start working again is still one of my favorite moments in this hobby.
Since Manuel’s LCD was fine and the donor PCB now worked, I decided to keep his original LCD and swap only the PCB. I fitted the donor PCB into the 693 module from Manuel’s MAP-100, assembled the module, and set it aside for the final assembly.
Step 3: Refinishing the MAP-100 Case
With a working module ready, I moved on to the case. First, I filled the deeper scratches and gaps with the super glue method (cyanoacrylate glue). I used a thin pin to place tiny drops of glue directly into each scratch, so it filled from the inside.
When the glue cured, I started sanding and went step by step through the grits: 800, 1000, 1200, 1500, 2000, and 2500. I stopped at 2500 on purpose, because this case should not shine like a mirror. The original look of the MAP-100 case is a matte finish.
Finally, I worked the surface with a white magic eraser (melamine sponge), both wet and dry. This gave the case an even, satin look all around.
Step 4: Polishing the MAP-100 Acrylic Crystal
The crystal got almost the same treatment as the case. I started with the super glue method again and filled the deepest scratches from the inside with tiny drops of glue on a thin pin.
After the glue cured, I moved to wet sanding through a longer range of grits: 800, 1000, 1200, 1500, 2000, 2500, 3000, 4000, 5000, and 7000. The coarse papers removed the extra glue and leveled it with the crystal surface. Each finer paper then removed the marks left by the one before, until the repaired spots blended completely with the rest of the crystal.
Next, I moved on to the final polishing with Polywatch on felt. This step brings back the clarity and depth of the acrylic and gives the crystal a smooth, glossy finish. 👍
Step 5: Restoring the MAP-100 Case Back
The case back was scratched too, so I removed the scratches with sandpaper. The most important rule here is to sand in one direction only, following the original satin grain. If you sand in circles, the brushed finish looks wrong right away.
After that, I refreshed the satin with an abrasive non-woven pad. This evened out the brushed lines and brought back a clean, brushed factory finish.
Step 6: Cleaning, New Seals and Final Assembly of the MAP-100
Before assembly, I cleaned the case carefully, including all the small corners and gaps where old dirt likes to hide.
Next, I took care of the parts that protect the watch from water. I fitted the missing case back gasket and replaced the perished button seals (pusher gaskets) with new ones, which also fixed the sticking buttons. I lubricated all the seals with silicone grease, so they stay flexible and seal properly.
Finally, I put the 693 module, now with the donor PCB and Manuel’s original LCD, back into his case with two new SR927W batteries. I closed the case back and fitted the strap. During the final test, I checked the LCD, the alarm buzzer, and all pushers, and everything worked as it should. ⌚
The Casio MAP-100 After Restoration
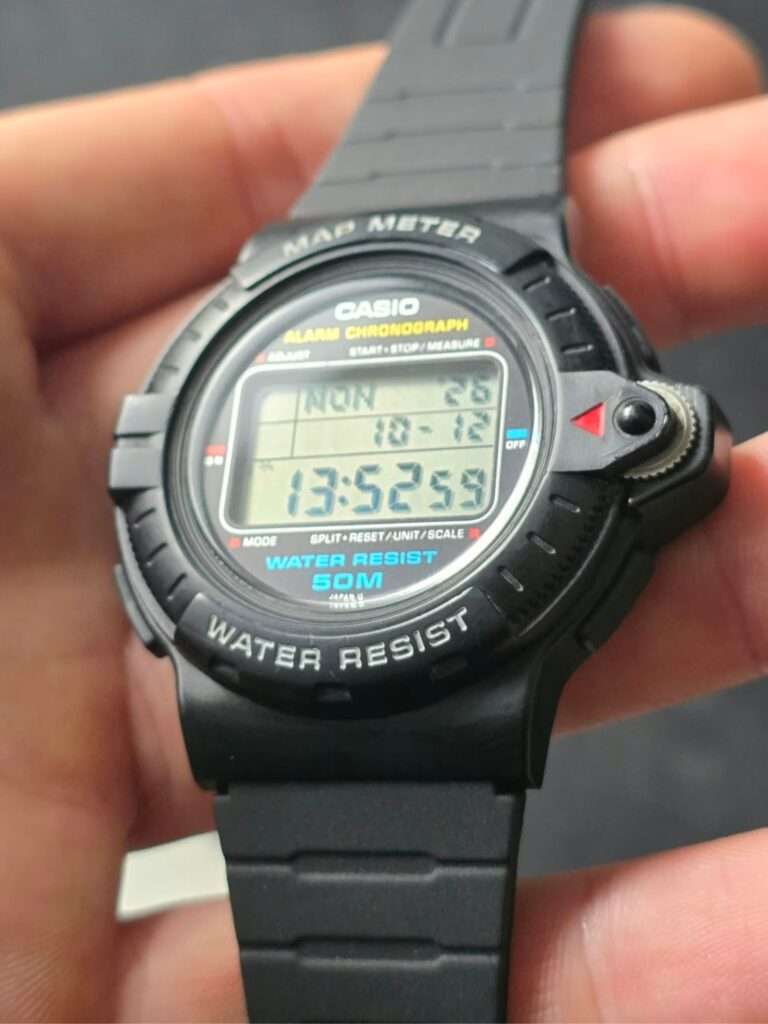
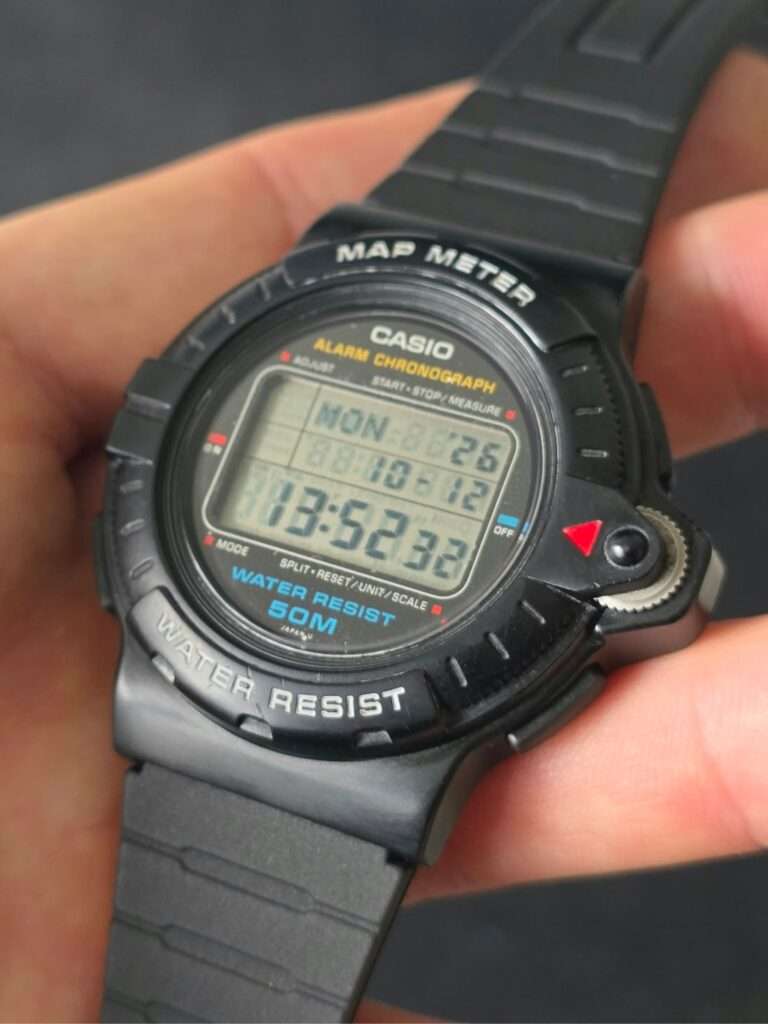
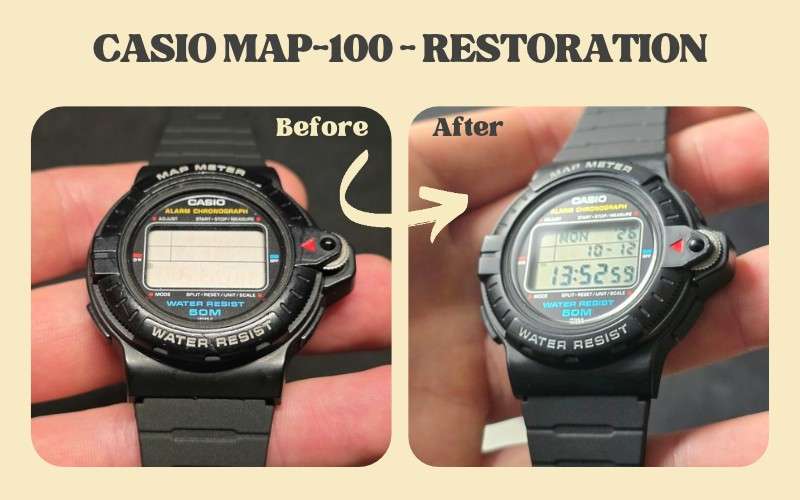
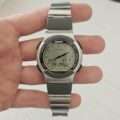
I finished the restoration in 8 days and sent Manuel’s Casio MAP-100 back to Spain. The case now has a clean, even matte finish, the acrylic crystal is clear again, and the case back shows a fresh brushed satin grain. The LCD, the alarm buzzer, and all pushers work, and the buttons press smoothly without sticking. 👍
Want Your Vintage Casio Restored?
This Casio MAP-100 is one example of the restorations I do. I restore vintage Casio watches for collectors and enthusiasts around the world, everything from straightforward cleanups to more complex repairs like reviving a dead module by restoring broken PCB connections or polishing deep scratches out of an acrylic crystal.
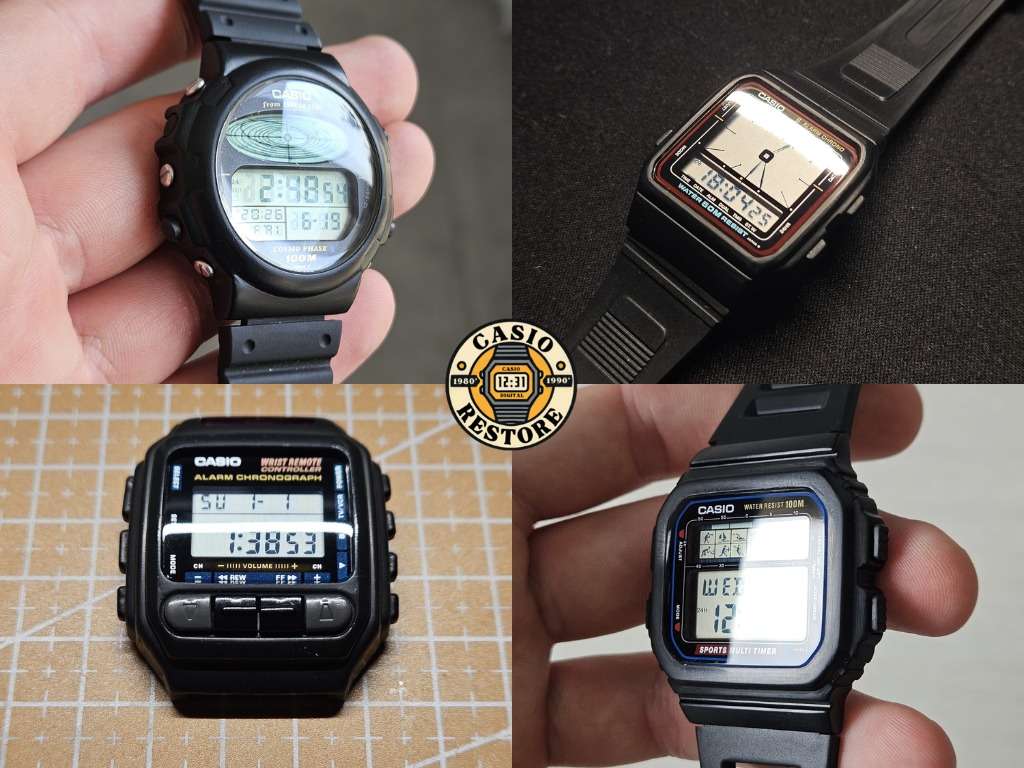
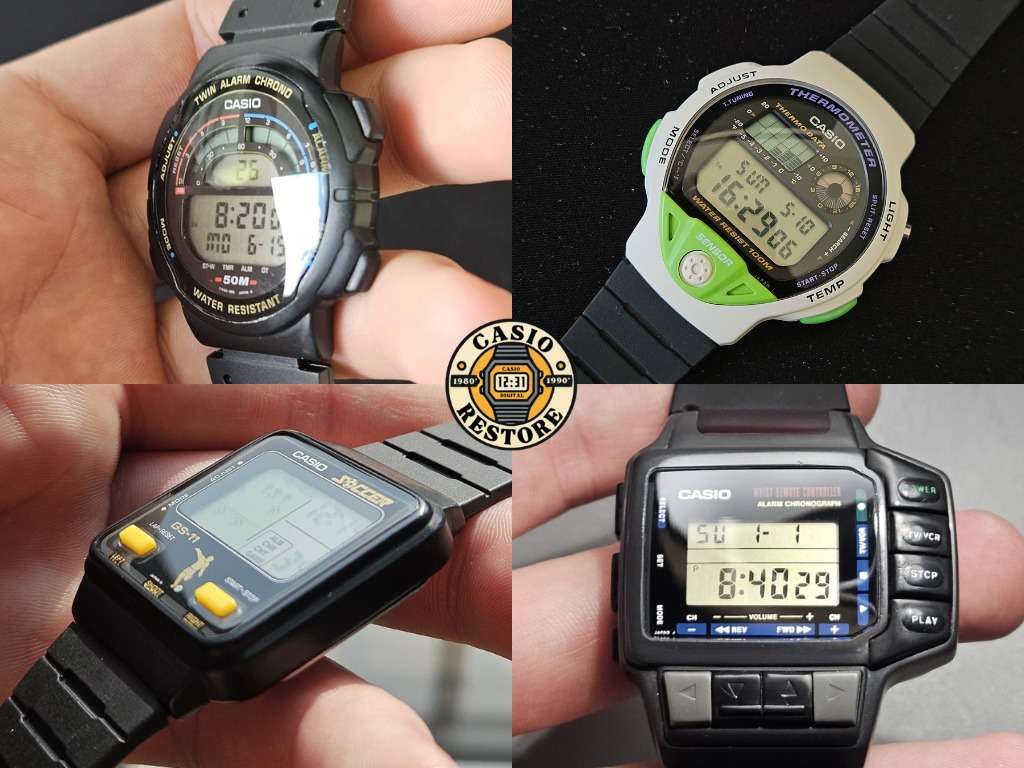
You can see more of my previous projects here: 👉 casiorestore.com/projects-restorations
I work with collectors across Europe, as well as in Canada and the United States. I have already completed restorations for collectors from the UK, Scotland, Sweden, Ireland, Spain, France, and more. I ship with DHL within Europe and with FedEx to the US and Canada. 📦
Every project is discussed individually. I send you a quote in a private message, based on the scope of work, and I also tell you the shipping costs. This way, we always agree on everything before I start. 🛠️
The process is simple:
- Write to me on Instagram: @vintage.casio.restore
- Or send me an email: vintagecasiorestore@gmail.com
- Describe the problem with your watch, send clear photos, and tell me your country.
If your vintage Casio deserves a second life, I will be happy to help. 👍

Daniel is the person behind Vintage Casio Restore, a project dedicated to restoring and documenting vintage Casio digital watches from the 80s and 90s. Based in Poland, he combines technical precision with a passion for retro design, bringing forgotten models back to life and sharing their stories online.Outside the workshop, Daniel works in a digital agency, managing SEO and content strategy for technology clients, blending his professional experience with his love for classic tech and design.
Leave a Reply